Glass Railing – The Ultimate Luxury DIY Guide for American Homeowners
Glass railing has become one of the fastest-growing luxury upgrades in U.S. home design. Modern homeowners want open sightlines, light-filled spaces, and a clean, high-end aesthetic without paying contractor-level prices. This guide delivers everything you need to know to design, choose, and install a beautiful glass railing system on your own, featuring expert tips and fabrication insights from Fab Glass and Mirror, all aligned with U.S. building standards and real-world DIY experience..
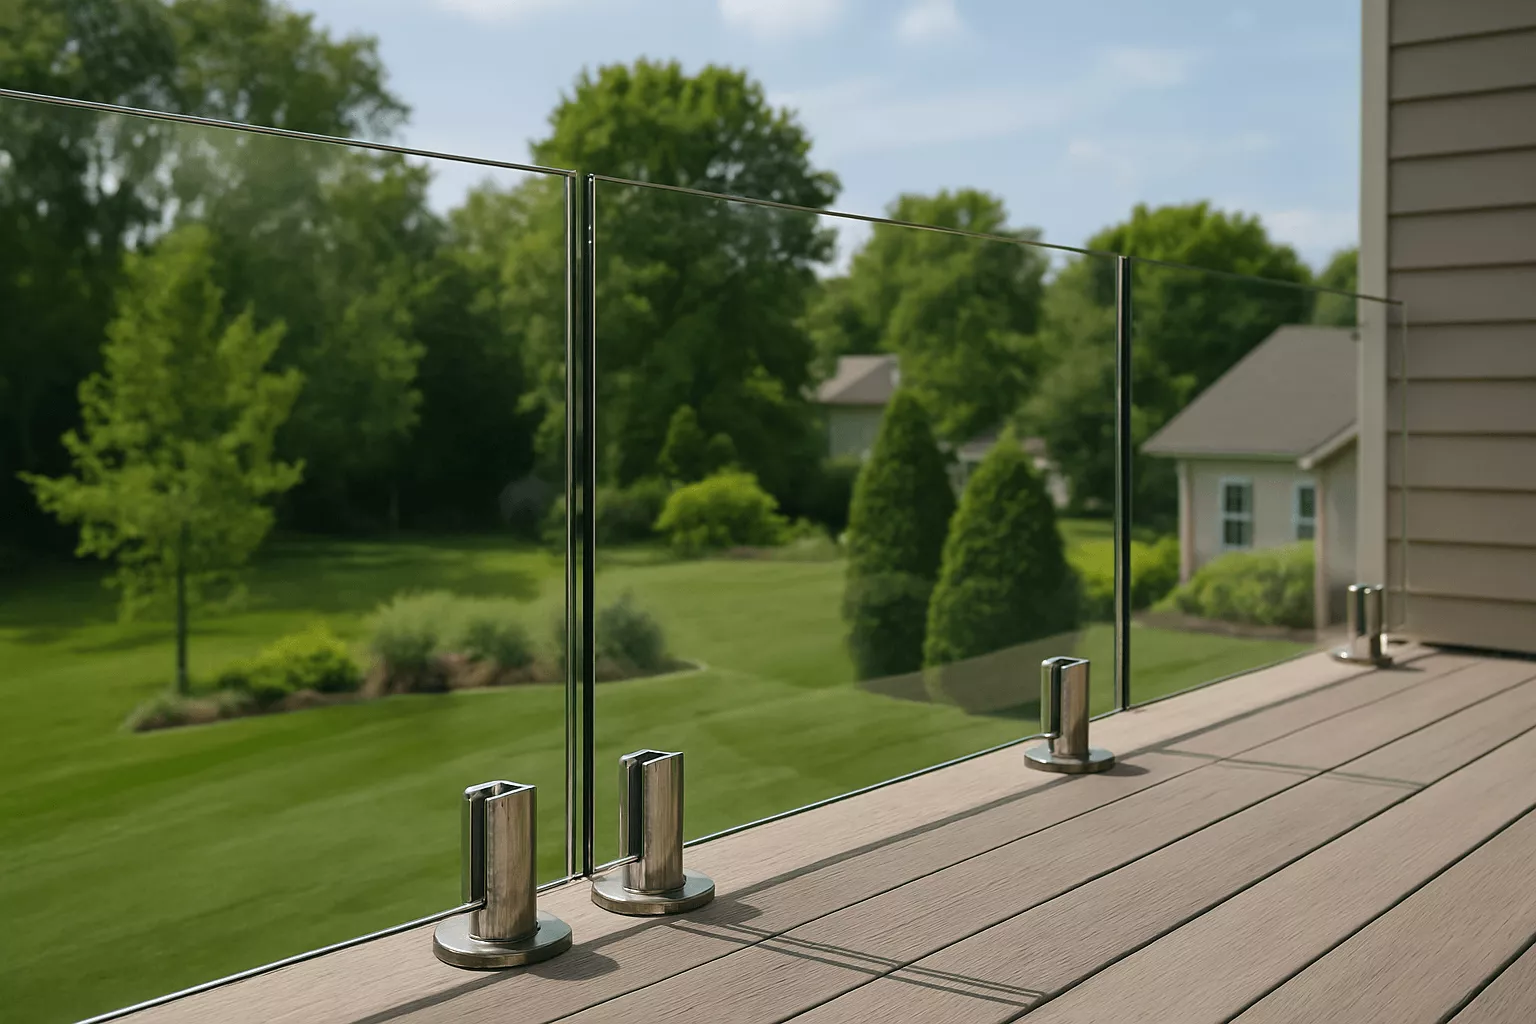
Table of Contents
- 1 What Problem Does a Glass Railing Solve and Why DIYers Love It?
- 2 Types of Glass Railings – Which One Fits Your Home?
- 3 Glass Railing Cost in the USA
- 4 DIY Glass Railing Installation (Complete Step-by-Step Guide)
- 5 Measurements & Safety Codes (USA Standards)
- 6 Installation Steps
- 7 Common DIY Mistakes to Avoid
- 8 Luxury Glass Railing Design Ideas
- 9 Safety, Durability & Maintenance
- 10 Glass Railing vs. Other Materials
- 11 Best Glass Railing Kits & Materials
- 12 Why Fab Glass and Mirror Stands Out
- 13 Final Thoughts
- 14 FAQs
What Problem Does a Glass Railing Solve and Why DIYers Love It?
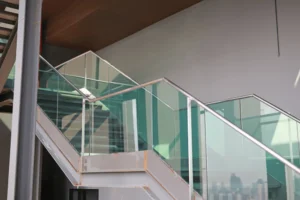
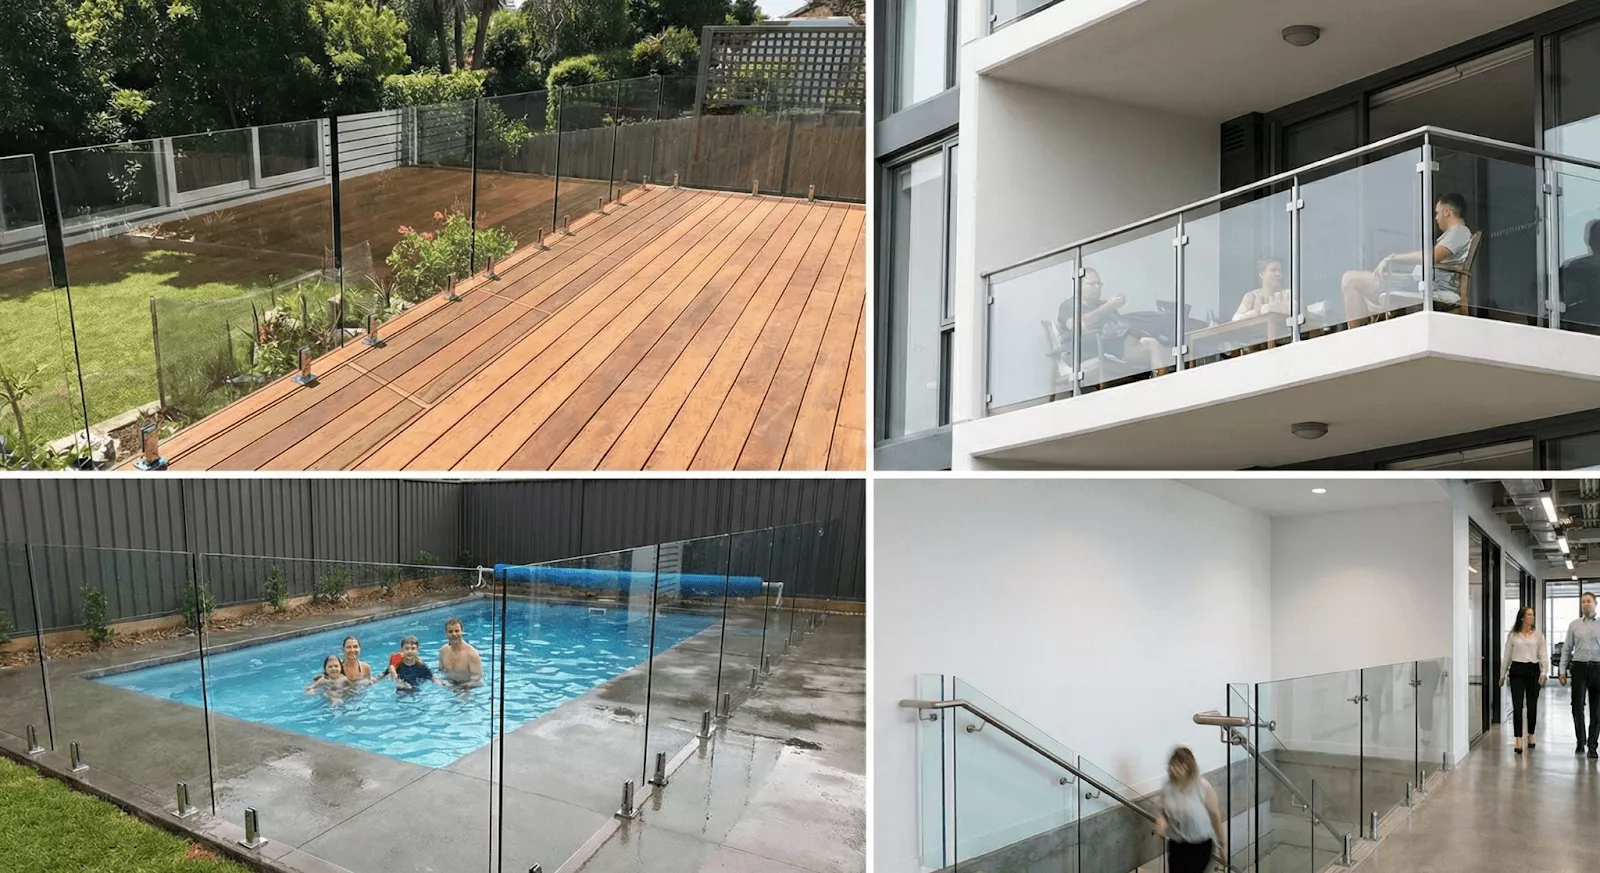
Glass railing gives homeowners the safety of a barrier without obstructing views. It is the perfect solution for decks, balconies, stairs, pool areas, and interior lofts that need both style and security.
Core Homeowner Pain Points It Eliminates
- Traditional railings block scenic views and make spaces feel smaller.
- Contractor installation costs are steep — often $250–$550 per linear foot.
- Cheap materials like wood or plexiglass degrade quickly.
- Most DIY content online lacks real technical detail and U.S.-specific safety guidance.

Types of Glass Railings – Which One Fits Your Home?
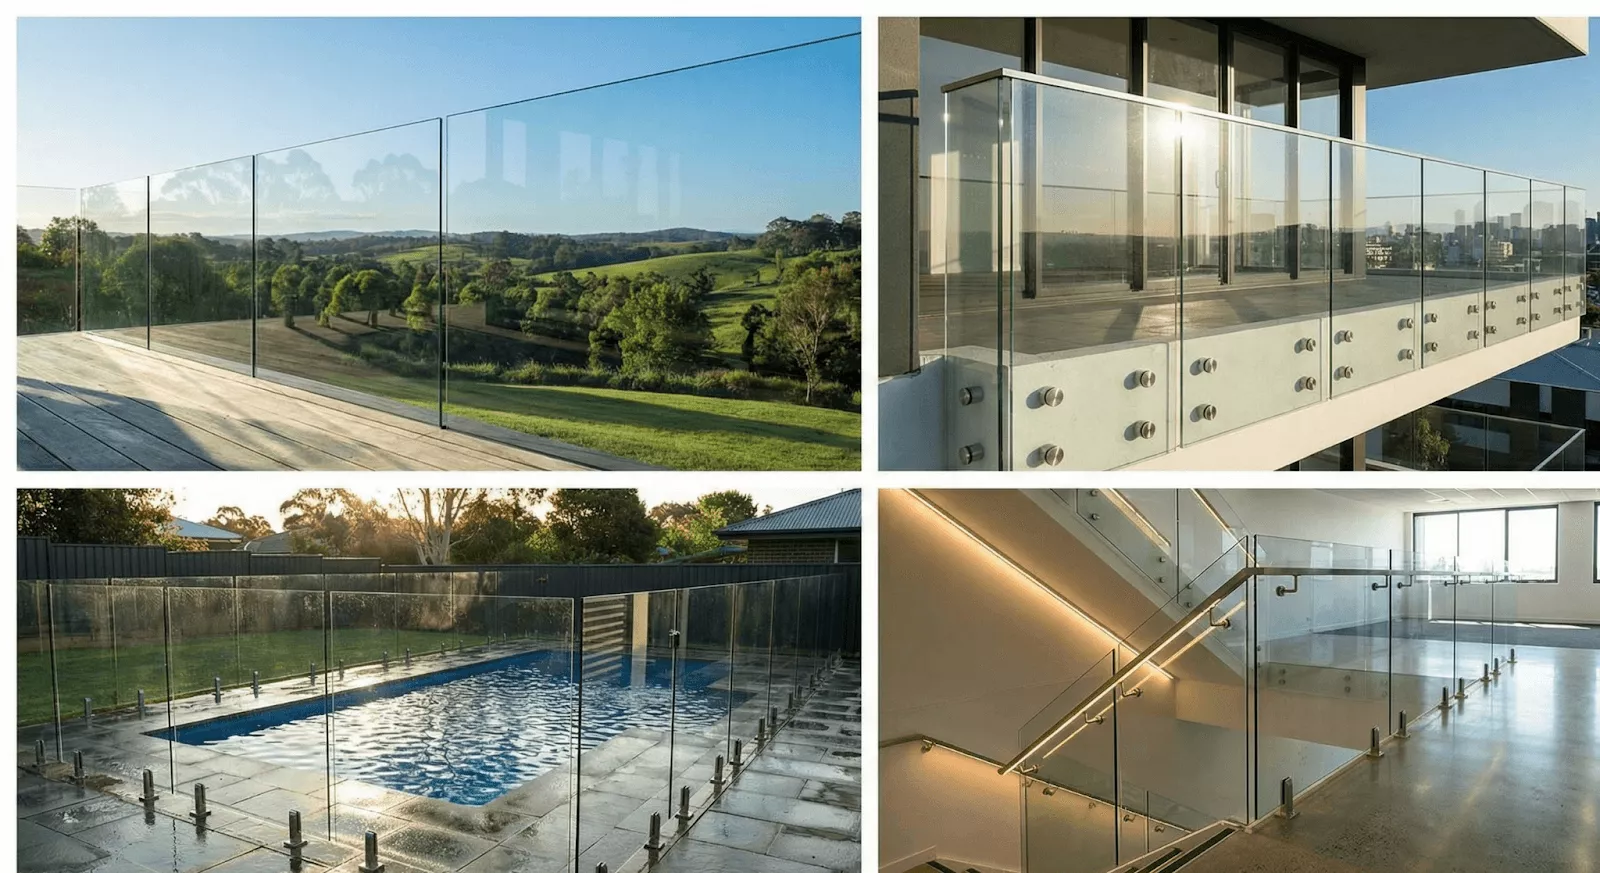
Each railing type delivers a different level of modernism, cost, and complexity. Here is what you should know:
1. Frameless Glass Railings
A premium, ultra-clear look with no posts.
- Ideal for: Scenic decks, luxury interiors, oceanfront homes
- Pros: Maximum visibility, upscale design, increases home value
- Cons: Higher cost, requires precise leveling
- Install difficulty: Moderate–high
2. Standoff Glass Railings
Panels mounted with stainless-steel standoffs on the fascia.
- Ideal for: Balconies, lofts, small spaces
- Pros: Floating aesthetic, excellent strength
- Cons: Requires accurate drilling, not ideal for angled stairs
- Install difficulty: Moderate
3. Spigot/Clamp Railings
Panels secured in floor-mounted clamps.
- Ideal for: DIYers, decks, pool areas
- Pros: Easiest installation, no posts, highly adjustable
- Cons: Less minimal than base shoes
- Install difficulty: Low–moderate
4. Post Glass Railings
Glass panels mounted between metal posts.
- Ideal for: Budget projects, interior stairs, rental properties
- Pros: Affordable, beginner-friendly, flexible
- Cons: Slightly obstructed view
- Install difficulty: Low
5. Base Shoe Glass Railings
Heavy-duty aluminum channels grip the glass panels.
- Ideal for: Commercial spaces, luxury homes, high-traffic areas
- Pros: Exceptional strength, continuous clean lines
- Cons: Heavier, more technical installation
- Install difficulty: High

Glass Railing Cost in the USA
These estimated prices help you plan your project accurately.
Material Pricing (Per Linear Foot)
| Component | Cost Range |
| Tempered Glass Panels | $120–$250 |
| Laminated Glass Panels | $160–$320 |
| Spigots/Clamps | $40–$100 |
| Post Hardware Systems | $50–$110 |
| Base Shoe Channels | $80–$180 |
| Optional Top Rail | $15–$35 |
DIY Project Average:
$150–$350 per linear foot
Contractor Installed Average:
$250–$550 per linear foot
Price Variables
- Glass thickness (⅜”, ½”, 9/16″)
- Tempered vs. laminated
- Shipping to your state
- Level of customization
- Type of railing system
DIY installation typically cuts 40–60% of total project cost.
DIY Glass Railing Installation (Complete Step-by-Step Guide)
This is a full, U.S.-code-aware installation way, not a watered-down overview.
Tools You Need
- Level (4 ft. recommended)
- Measuring tape
- Power drill + bits
- Torque wrench
- Anchors (wood, concrete, or composite-specific)
- Safety gloves & glasses
- Suction cups for lifting glass
- Rubber/EPDM gaskets
- Silicone sealant (optional)
Measurements & Safety Codes (USA Standards)
Follow International Building Code (IBC) guidelines for safety:
Minimum railing height:
- Residential: 36″
- Commercial: 42″
Glass thickness:
- Interior: 3/8”
- Exterior: 1/2″ or 9/16″ laminated
Glass type:
Tempered or laminated tempered only
Maximum gap under glass:
4 inches
Complying with code not only ensures safety, it ensures long-term structural integrity.

Installation Steps
1. Plan & Mark Layout
- Measure your railing run and mark mounting locations.
- Accuracy here determines your final alignment.
2. Install Hardware (Posts, Spigots, or Base Shoe)
- Drill anchor holes
- Insert anchors
- Level hardware
- Tighten bolts to manufacturer torque
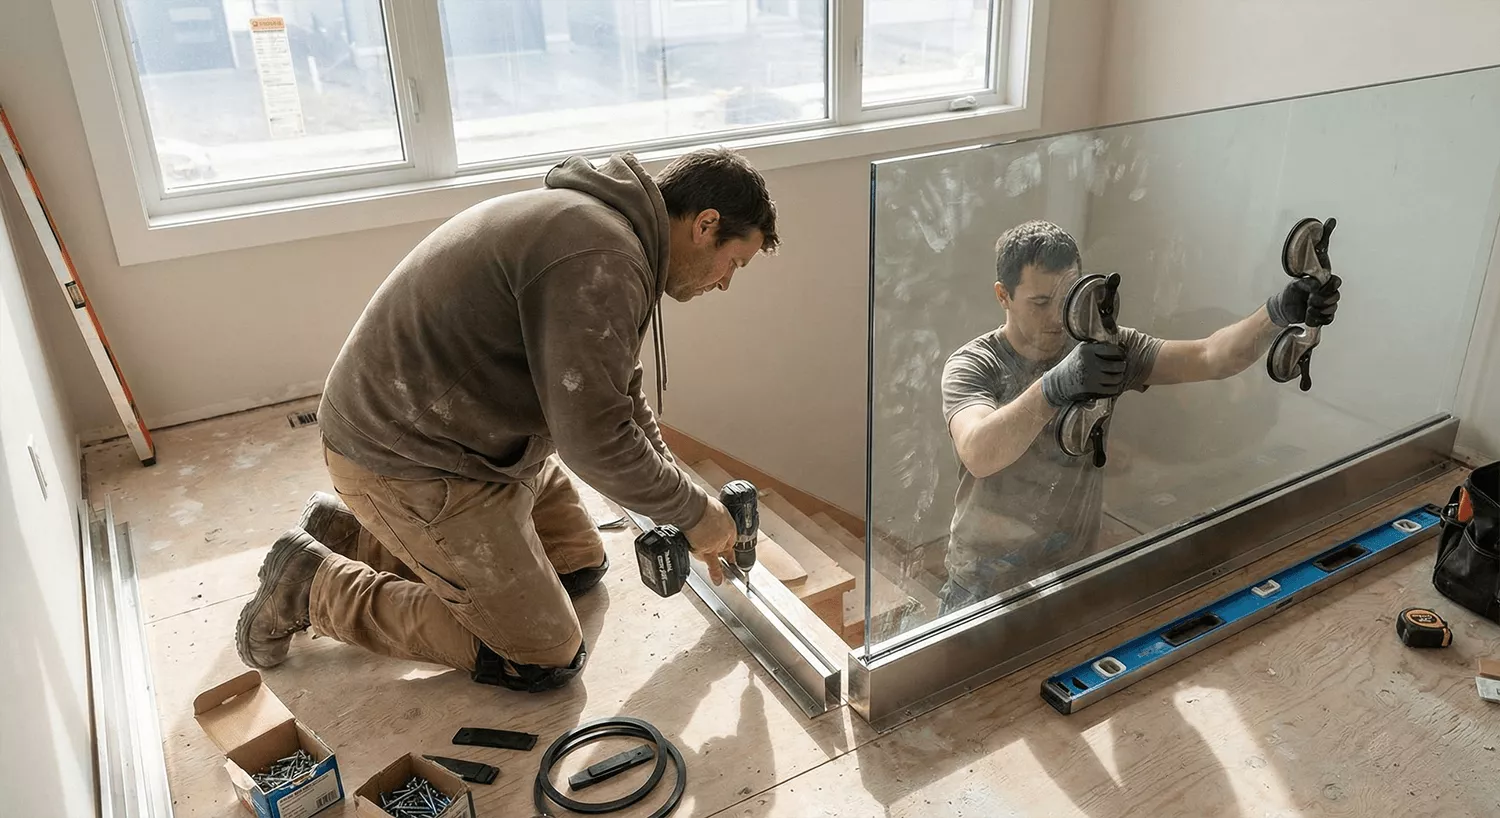
Poor leveling is the #1 reason DIY railings look misaligned.
3. Insert Rubber Gaskets
These prevent metal-to-glass contact and are mandatory for safety.
4. Set Glass Panels
Use suction cups and a partner for safe lifting. Place panels into clamps, standoffs, or base shoes.
5. Tighten Clamps or Wedges
Do not over-tighten, tempered glass is strong but rigid.
6. Align Panels
Check every panel for height, spacing, and vertical alignment.
7. Install Finishing Components
- Add top rails (if used)
- Snap on cover plates
- Apply silicone where needed
Your project will now look fully polished.
Common DIY Mistakes to Avoid
- Not leveling hardware
- Choosing the wrong anchor type
- Buying annealed (unsafe) glass
- Ignoring local railing height requirements
- Over-tightening clamps
- Forgetting gaskets
Avoid these issues and your installation will look professionally engineered.

Luxury Glass Railing Design Ideas
- Deck Railings: Perfect for maximizing outdoor visibility, especially with scenic landscapes.
- Balcony Railings: Ideal for multi-story homes or condos where the view is key.
- Interior Stair Railings: Transforms dated staircases into modern architectural features.
- Pool Fencing: Provides a clean, resort-style look and meets safety standards.
- Loft & Mezzanine Railings: Opens up interior spaces and increases natural light flow.
- Office & Commercial Spaces: Adds professional, modern aesthetics with minimal maintenance.
Safety, Durability & Maintenance
Tempered vs. Laminated
- Tempered: Strong, shatters into small pieces for safety.
- Laminated: Two layers bonded; stays intact when cracked — ideal for elevated decks.
Weather Resistance
Glass railing stands up to:
- Rain
- UV rays
- Wind
- Salt air (great for coastal states)
- Heat/cold fluctuations
Maintenance Routine
- Clean with mild soap or standard glass cleaner
- Avoid abrasive pads
- Tighten hardware annually
- Inspect gaskets for wear
Glass railing requires far less maintenance than wood or metal systems.
Glass Railing vs. Other Materials
Glass vs Wood
- Wood blocks views and requires annual staining.
- Glass provides clear visibility and minimal upkeep.
Glass vs Metal
- Metal can rust and obstruct views.
- Glass + stainless steel stays clean and contemporary.
Glass vs Cable
Cable lines disrupt sightlines; glass is fully unobstructed and more luxurious.
Best Glass Railing Kits & Materials
| Supplier | Glass Quality | Hardware | Custom Options | Price | Shipping |
| Fab Glass and Mirror | Tempered & Laminated | Stainless Steel 316 | Full Customization | Competitive | Fast (USA) |
| Big-Box Retailers | Limited | Mixed | Minimal | Moderate | Standard |
| Boutique Luxury Brands | High-End | Premium | Full Custom | High | Slower |
Why Fab Glass and Mirror Stands Out
- 24+ U.S.-based fabricators
- Custom panel production
- Fast nationwide delivery
- High-precision glass cutting
- DIY-friendly systems
- Responsive technical support
Final Thoughts
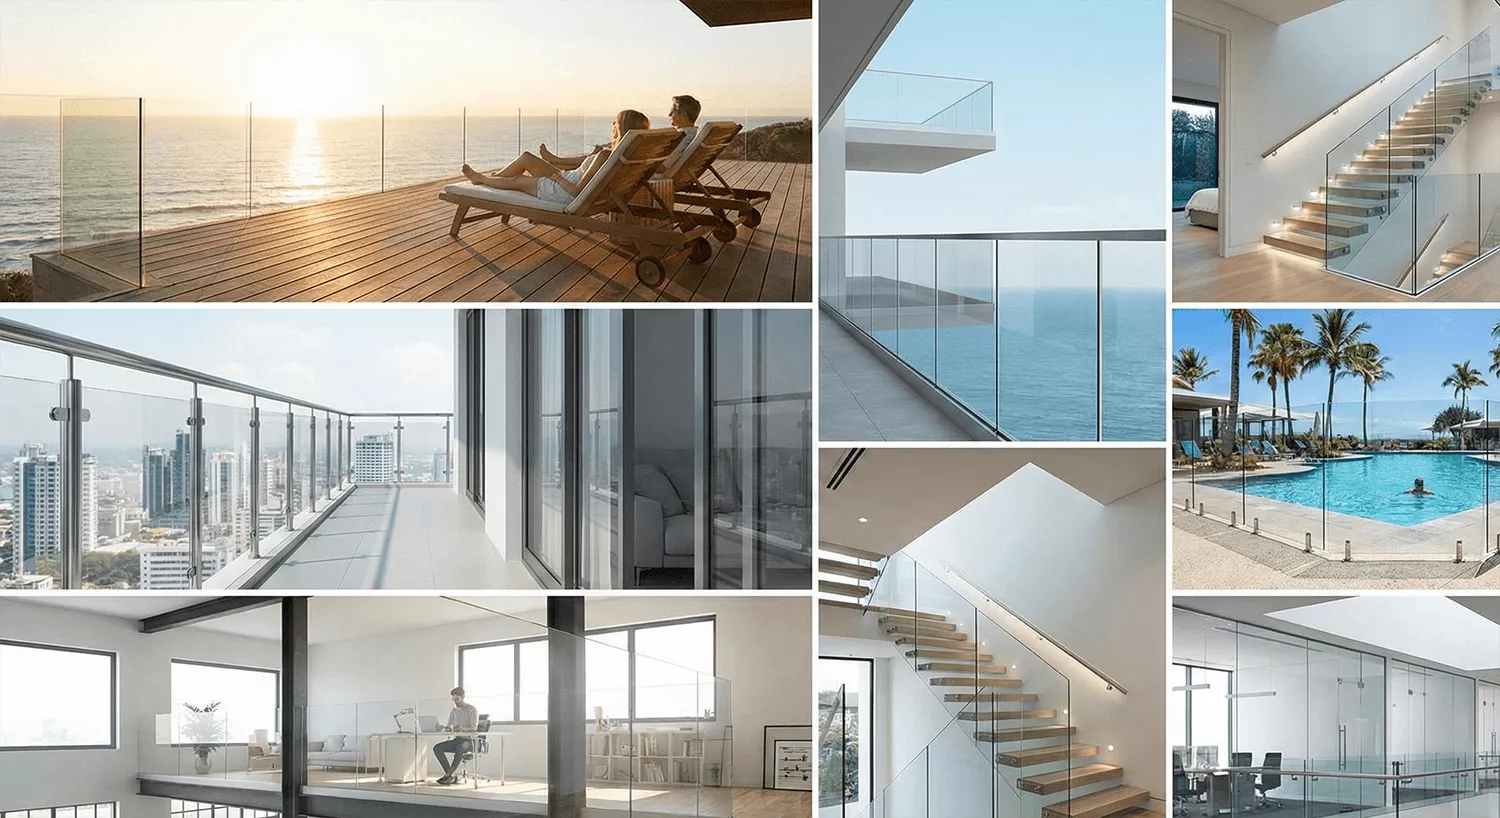
Glass railing is the ultimate blend of luxury, safety, and modern design — and one of the smartest DIY investments American homeowners can make. Whether you are upgrading a deck, balcony, interior stairway, or pool area, a well-designed system not only transforms your space but also increases long-term property value.
If you are ready to elevate your home with a custom glass railing system, explore available kits, request a personalized quote, or get expert guidance tailored to your project.
FAQs
DIY projects average $150–$350/ft, depending on thickness and hardware.
Absolutely — when using tempered or laminated tempered panels that meet IBC requirements.
1) Interior: 3/8”
2) Exterior: 1/2″or 9/16″ laminated.
Yes. Spigot and post systems are especially DIY-friendly.
Tempered glass is extremely strong and only breaks with severe impact — and safely.
Use mild soap, water, or non-abrasive glass cleaner.
Yes — it’s one of the most popular safety and aesthetic upgrades.
Frameless is visually superior; posts are more budget-friendly.
Tempered glass is scratch-resistant, but avoids abrasive tools.
1) Residential: 36″
2) Commercial: 42″


