My Cart
You have no items in your shopping cart.
If you are a first time DIYer, installing a sliding glass door may not be a walk in the park. However, you can still pull it off as long as you have the right tools and directions. Sliding doors generally have one door that glides gently past the other. The sliding door is usually on a track system that is installed in the framework or the jamb of the door. So how exactly do you go about installing glass sliding doors? Here is a step by step instruction on how to install a sliding glass door on your property.
Table of Contents

The following are the components that you need to have for you to successfully install a sliding door. Do not start assembling them if you are even missing only one of the components.

Start by laying all parts on the floor and then positioning the sill, the head and the side jambs with the interior side facing up. Obviously, you will need a large work area for this.
Tip: Cover the working area with cardboard in order to protect the frame as well as the floor from unnecessary scratches.

Attach the sill to the jambs by applying the sealant to the bottom ends of the sill and then fasten the side jambs to the sill through the pre-drilled holes by using three #10 x3/4” screws. It is advisable to start with the center screw and then work your way outwards. Repeat this procedure on the opposite side.
Tip: Make sure the foam pads are in place before you start assembling the frame.
Apply the sealant to the top ends of the head frame and then fasten the side jambs to the head through the predrilled holes using three 10 x ¾ “screws. It is advisable to start from the center screw and then work your way outward. Repeat this on the opposite side.
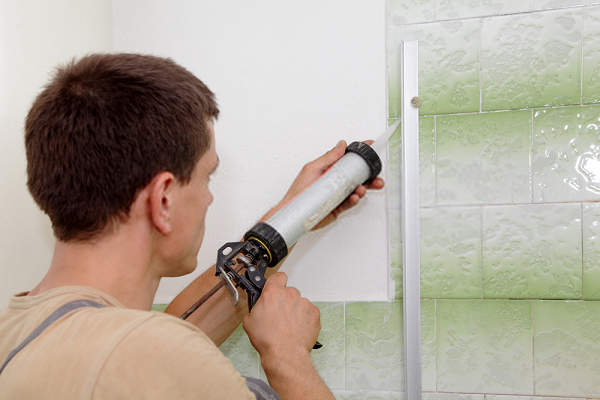
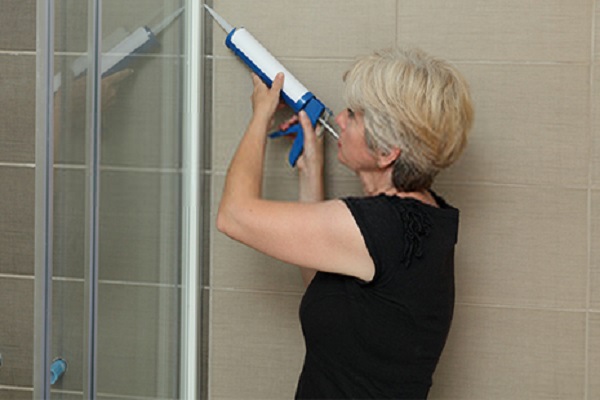
Run heads of silicone sealant across your sill bottom’s entire length. This is an important step because it helps to provide a weather-tight seal.

Follow the steps outlined below to check the rough opening and take any corrective measures if need be;
Seal the joints between the sill and the end-caps in order to achieve a watertight sill. Apply a continuous bead of sealant (3/8”) on the backside of the sill and two discontinuous beads of the sealant (3/8”) at the bottom of the sill. Continue applying up to 6 inches up the jamb. Install the drip can to the head and flash. The 3/8” of sealant that is applied at the bottom of the sill pan is done discontinuously in order to allow for drainage.
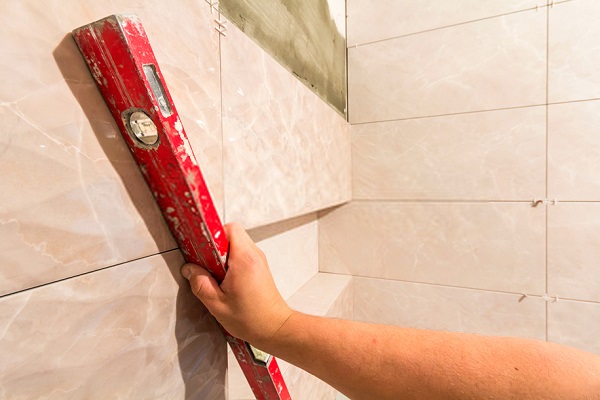
Check to ensure the sill is level and flat and if not, adjust until it is level. In some scenarios, you might need to add some temporary blocking under the projecting exterior edge in order to provide support during the construction.
You must ensure the jambs are straight and plumb. If there is any bow, shim to remove it. You can then secure the jamb limbs with screws. As you do this, take precautions to avoid pulling the frame out of the square.
In order to install the vinyl sill cover base, you will need to start at each jamb and work towards the center of the door. Use a rubber mallet to snap it into place.
Fasten the frame to the rough opening through the predrilled holes in the frame. You should use 12 of the #10 x 3 pan head screws for this. The screws are meant to go through the frame because there are no pre-drilled holes in the sill.

Start by removing the top screw in the inactive panel and then once this is done, you can proceed to insert the panel anchor.

To install the weather-strip carrier, you will need to use a block of wood, or better yet a rubber mallet in order to avoid damaging the parts.

The active panel should be installed into the interior channel in the head jamb, from the interior side of the unit. You will need to push it as far as possible and then rotate it into place until the rollers are perfectly engaged in the sill roller track.
Note: It is important to have the active panel close to the closed position before your installation. This is to ensure that the interlocks will align properly when the door is closed. As a rule of thumb, make sure the panel is square to the frame.

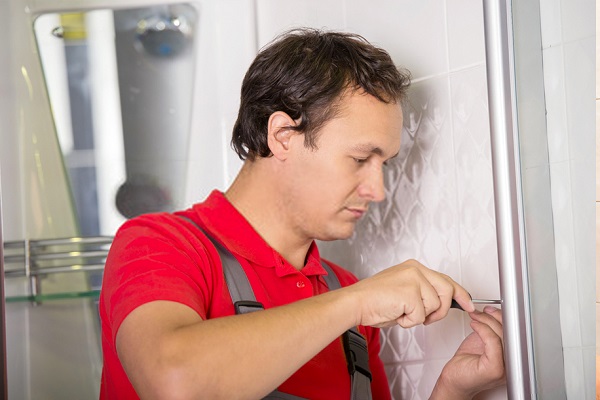
Use the screwdriver to turn the adjustment screws in rollers right or left. Keep doing this until the panel is moved easily on the track. This cannot happen if the panel is not level so start by ensuring that the panel is adjusted to be straight with the frame.

Align the active interlock 1/8” above the bottom edge of the active panel. You may need to trim the straight edge of the bottom panel to achieve this.
The head stop bumper is to be installed in the innermost channel in the head jamb and against the stationary side jamb. If need be, the bumper can also be trimmed down from 6 inches to 4.5 inches. This will allow for a wider entrance.
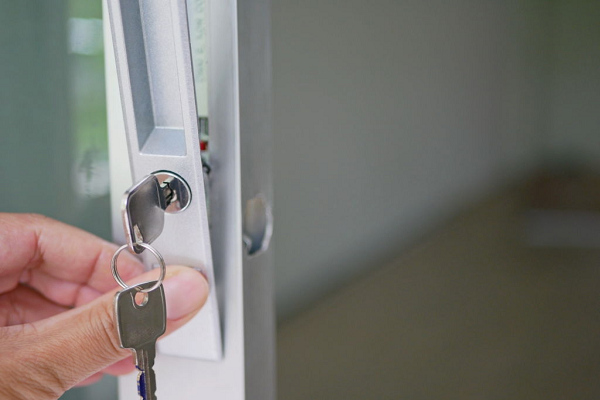
Install the mortise lock through the pre-fabricated holes in the active door edge.

Note: You can change the thumb knob to a different position when in the locked or unlocked position as you please. This can be done by removing the screw in the stem of the thumb turn and then rotating the adaptor until the desired threaded hole in the adaptor lines up with a hole in the thumb turn stem.
Install the keeper by aligning it to the predrilled holes in the active jamb and then fasten it with the 1 ½“ Philips pan head screws. Close the door and adjust the keeper in order to get the needed latch engagement. You can adjust the latch throw by the slotted adjustment screw on the mortise lock.
This is an optional step. If you decide to install the foot bolt, you will have to order it with the sliding glass door because it is usually not available separately. Align the foot bolt to pre-drilled holes in the active panel and fasten it with screws.
If you came here by typing “how to install sliding glass door” in Google or your favorite search engine, we hope the steps outlined above have answered you comprehensively. The most important thing to remember before you begin installing your sliding glass door is to assemble all the tools, materials and components you need. In fact, it is not a good idea to begin the installation if you do not have one of the items from the list. It is better to delay the project until you have everything you need than to start too soon and have to abandon the project midway. Once the installation is complete, remember to take good care of the sliding glass door by keeping it clean and observing other routine glass maintenance procedures.
Explore all things glass—from stylish table tops and insulated options to tinted and frosted designs. Discover guides on glass railings, custom cut glass, shelves, and stunning backsplash ideas for a modern home or office upgrade.