My Cart
You have no items in your shopping cart.


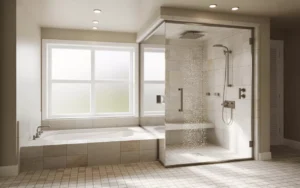
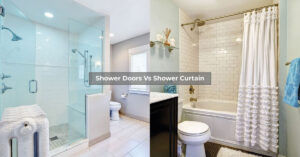
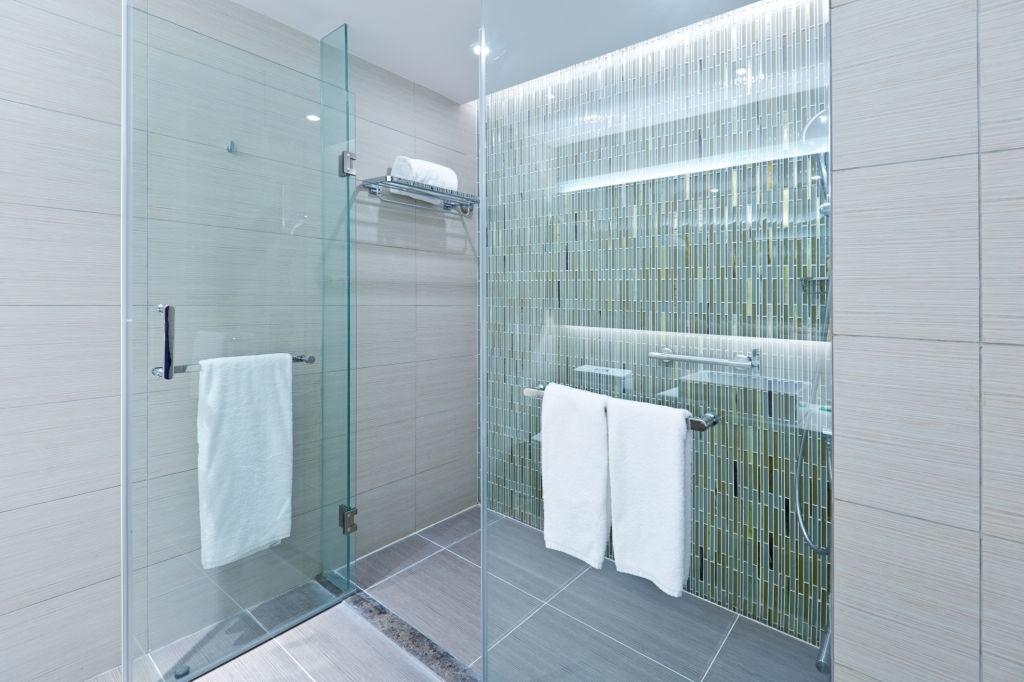
Are you confused about the redoing cost and planning for a DIY shower refinishing? Well, we are here to help you in this regard! Maintaining your shower door is quite back-breaking, but it can be trouble-free if you grab a top-grade shower door or steam shower enclosure. At Fab Glass and Mirror, we make sure to make and sell durable and functional shower doors and other products that serve for a longer period of time!
However, shower refinishing may cost you much if you hire a professional to do this job for you, instead you can opt for some proper beginner guidelines to renew your shower on your own. Here we have a cost-effective and easy-to-do guide for DIY shower refinishing tasks. Let’s get into it!

Redoing showers or bathtubs isn’t rocket science! People with zero experience can easily opt for DIY refurbishing the shower spaces, and no doubt, they will have great fun and satisfaction with 100% quality work. The thing is, what’s the right time to renew your shower tub? So, here are some reasons when and why you should go for recoating showers. If you’re planning to install a new shower door, it’s essential to understand how to measure for shower door accurately to ensure a perfect fit.
Build and maintain the awesomeness of your bathroom spaces by opting for these handy and cheap remodeling tips. Consider exploring some creative shower windows ideas to enhance the natural light and overall aesthetic of your bathroom. You can also calculate how much does a shower remodel cost.
Tools & Materials
Step-by-step Process

Remove Shower Fixtures
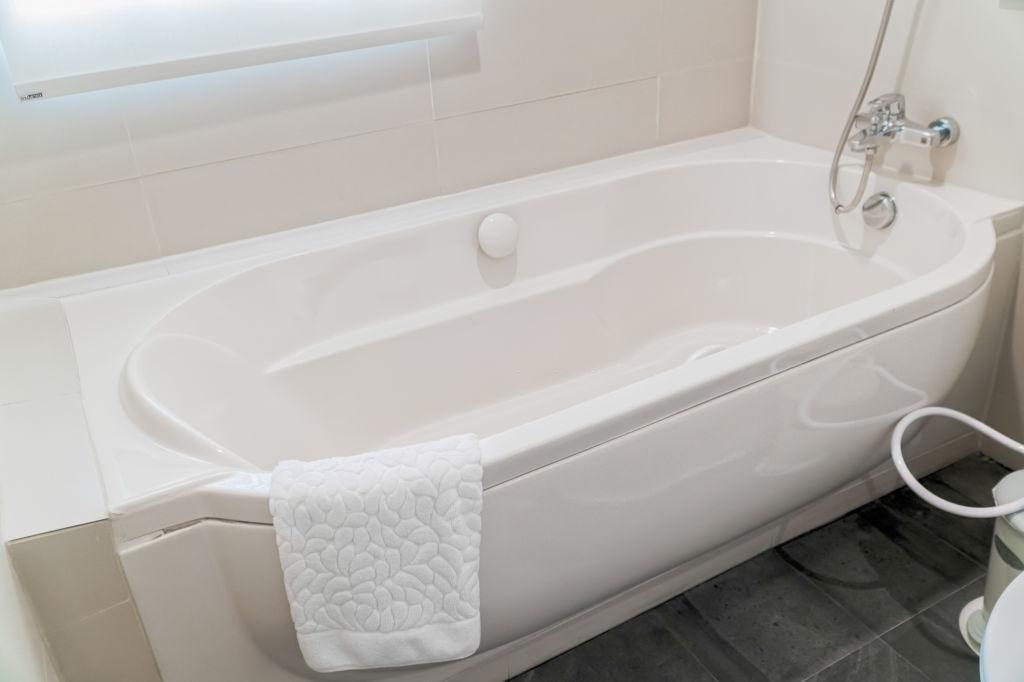
If you have a shower door that you need to renew, then remove all the fixtures first. For refinishing a bathtub, remove elements like caulk, tub drain, fixtures, soap dishes, handles, and faucets.
Deeply Clean the Surface
Despite your regular cleaning techniques for a shower tub, like removing the spots or dirt particles, now opt for deep cleaning of the tub surface. For it, work on every inch of the tub or a shower door, and use a strong cleanser to remove all the soap scums, mildew, or any dirt residues. Go for abrasive cleaners that are followed by a razor blade to remove all the scums easily. Make sure to use a damp towel to remove all the dirt particles, do not apply water. Additionally, when cleaning, consider the back of bathroom door ideas to maximize space and keep the entire area looking tidy and organized.
Incising And Sanding

Now it’s time to use the kit including etching powder. It’s quite effective to remove the gloss from the surface of the tub, as we need a rough surface for better refinishing. Must follow the instructions written on the package about how to use it. Once done with the incising, wash the entire tub with plenty of water. Well, it must be wet enough, so it’s the right time for sanding. Sand down the surface as we have to further dispose of the gloss coating. The scratches will appear from the sandpaper, which would help in preparing an excellent base.
Clean the Tub, Once Again!
After using the sandpaper, wash the tub one more time. Now attach all the faucets to the tub tightly, like before, and cover them using plastic bags. To cover them firmly use rubber bands, so no water can enter the cover spaces. For rapid drying, use a heat gun or simply dry the surface with a tack cloth.
Replace The Old Caulk
Take notice of the caulk, if the old one is good to go, then simply cover it with a painter’s tape so it won’t come in contact with the coating. Or if the caulk should be replaced, then you can simply do it with the right tools once the refinishing project is all done.
Apply Primer
Well, applying a layer of primer is beneficial, it’s a kind of petroleum-based acetone that comes in the kit. Directly apply the primer first, and let it dry.

Take the portion of refinishing coatings, and mix it accordingly. You may get a separate hardener and paint container, so mix the hardener in the coating container, and shake it well. Let it rest, until you notice the bubbles lay down. After that, pour the coating into the tray and use a paint roller to paint the tub. Roll the sides, and roll vertically to get the best results. Make sure to paint the entire tub and cover every inch of it. This process is essential when upgrading your bathroom, whether you’re transitioning from bathtub to shower or simply refinishing your tub.

Now for the corners, curves, and bathtub lip, use a sponge brush or sponge to cover the entire shower tub with a new coating layer.
Let It Dry For 2 Days!
Don’t hasten! Gently remove the tape from all around at a 90-degree angle and let it dry for at least 2 whole days!
As you see, shower refinishing isn’t a difficult task to leave for experts. Why pay other people when you can DIY this task on your own without any helping hand and of course by saving bucks? If you’re also looking to update your bathroom with fresh glass or mirrors, consider ordering glass and mirror online to enhance the look. This entire DIY project can cost you from $60 to $120 approximately! So, get the right tools, order your glass and mirror online for a modern touch, follow these steps, and let your bathroom sparkle again, this time in a NEW way!
FAQs
Well, depending upon how bad your shower has gone, it may cost from $100-$800. If your shower tub only needs some refinishing then obviously it’s gonna cost you way too little.
Shower refinishing tasks cost you not more than around $120 and it removes all the dirt, imperfections and apparent spots and scars from the surface, moreover brings its glow back, hence making it worthwhile!
If you care for the shower properly and maintain the shower refinishing well, then it may last for 17-20 years, with all the benefits and functionality.
Well, if your shower is still in a condition where you can bring its newness back by refinishing, then we recommend you go for a refinishing task until it’s in the worst condition. As the refinishing task costs you a lot less than remodeling the shower.
Explore all things glass—from stylish table tops and insulated options to tinted and frosted designs. Discover guides on glass railings, custom cut glass, shelves, and stunning backsplash ideas for a modern home or office upgrade.