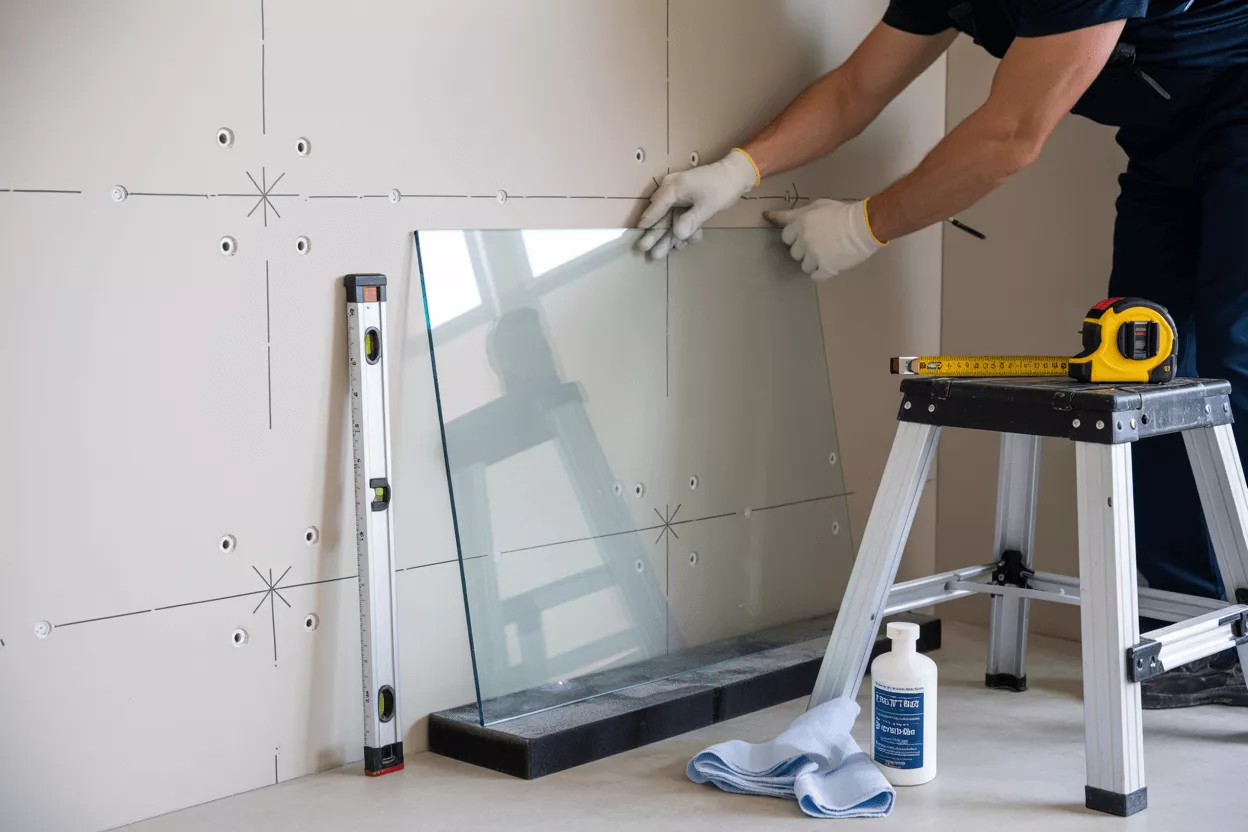
If you are replacing a broken panel, customizing a tabletop, or installing a new shower door, understanding the tempered glass installation process is key for safety and precision. This guide is designed to help DIYers install tempered glass safely and effectively while maintaining professional-level results.
From understanding your project’s requirements to learning how to measure, prepare, and install tempered glass custom cut tempered glass to your specifications, this article covers it all, no experience required.
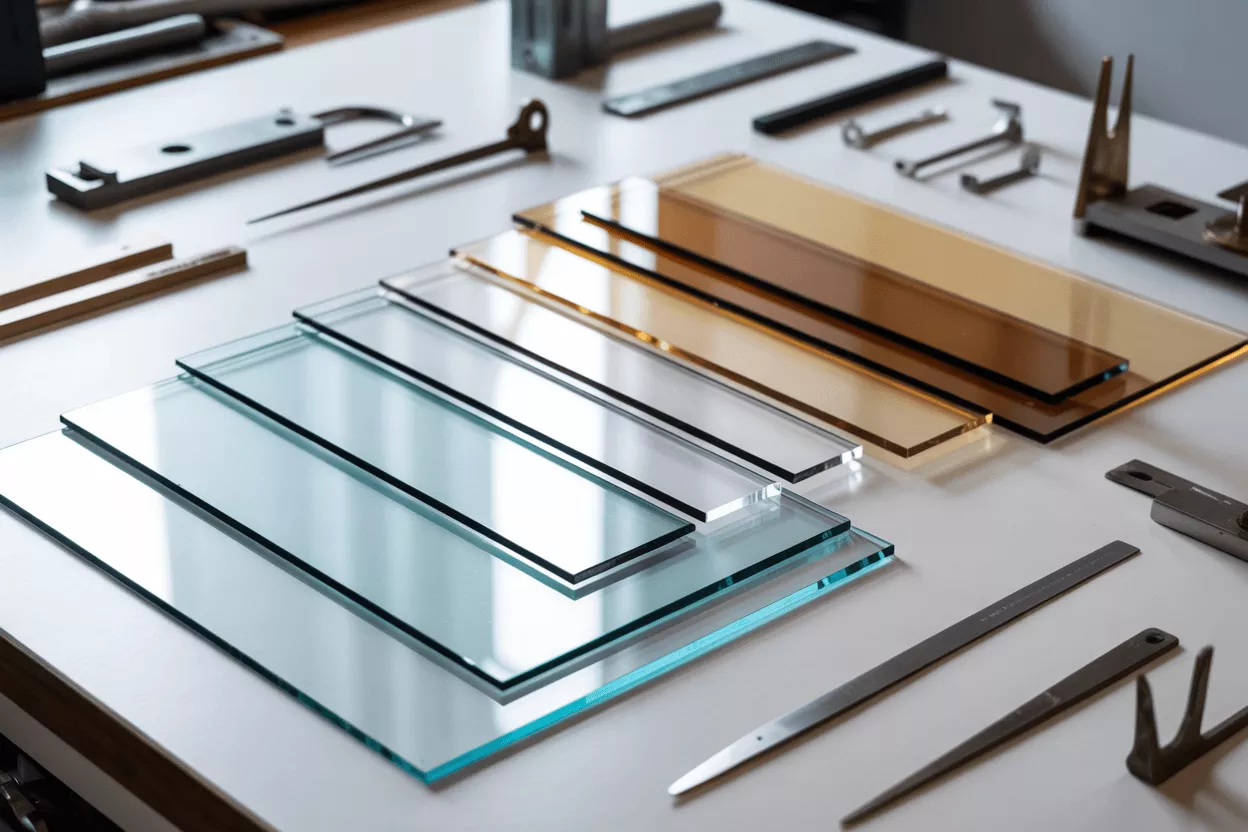
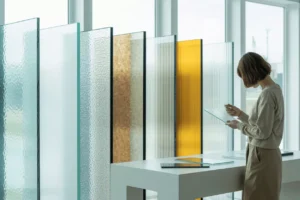
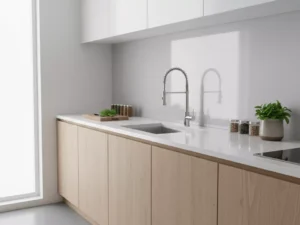
Tempered glass is a type of safety glass processed through controlled thermal or chemical treatments to increase its strength compared to normal glass. When broken, it shatters into small, blunt pieces that are less likely to cause injury, making it ideal for doors, windows, showers, and tabletops.
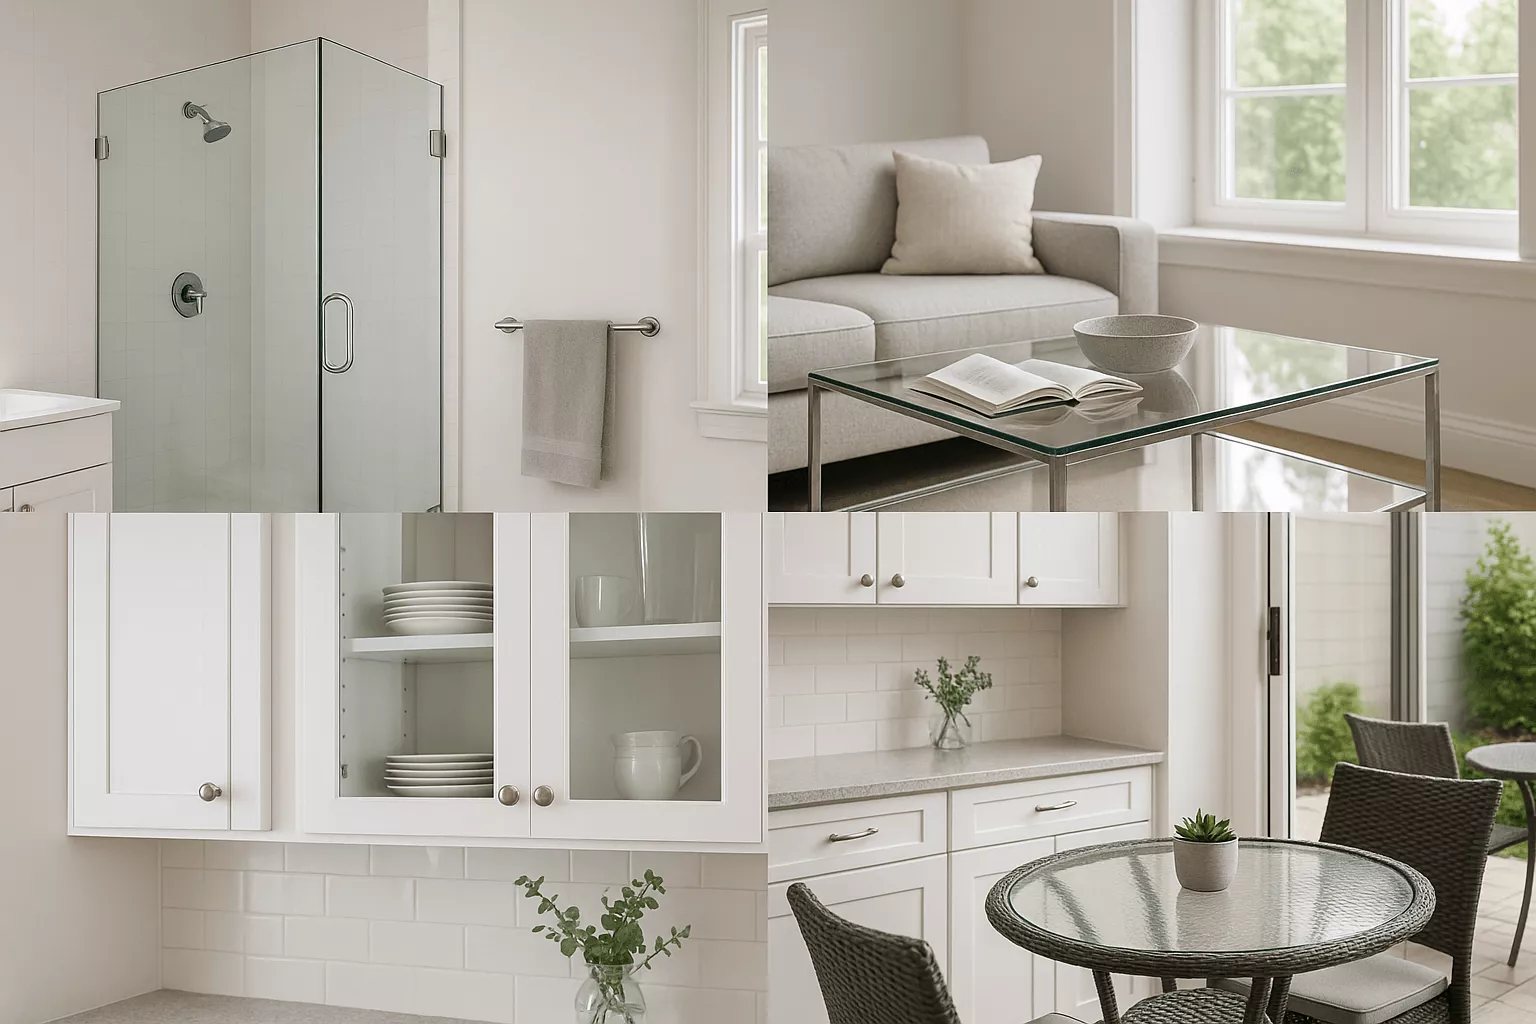
Common Applications for DIYers
Shower doors and panels
Window replacements
Glass table tops
Glass shelves
Patio furniture
Custom glass inserts for cabinets
Can You DIY a Tempered Glass Installation?
Pros
Save on labor costs
Customize dimensions easily with tempered glass cut to size
Control the quality of installation
Learn valuable skills
Cons
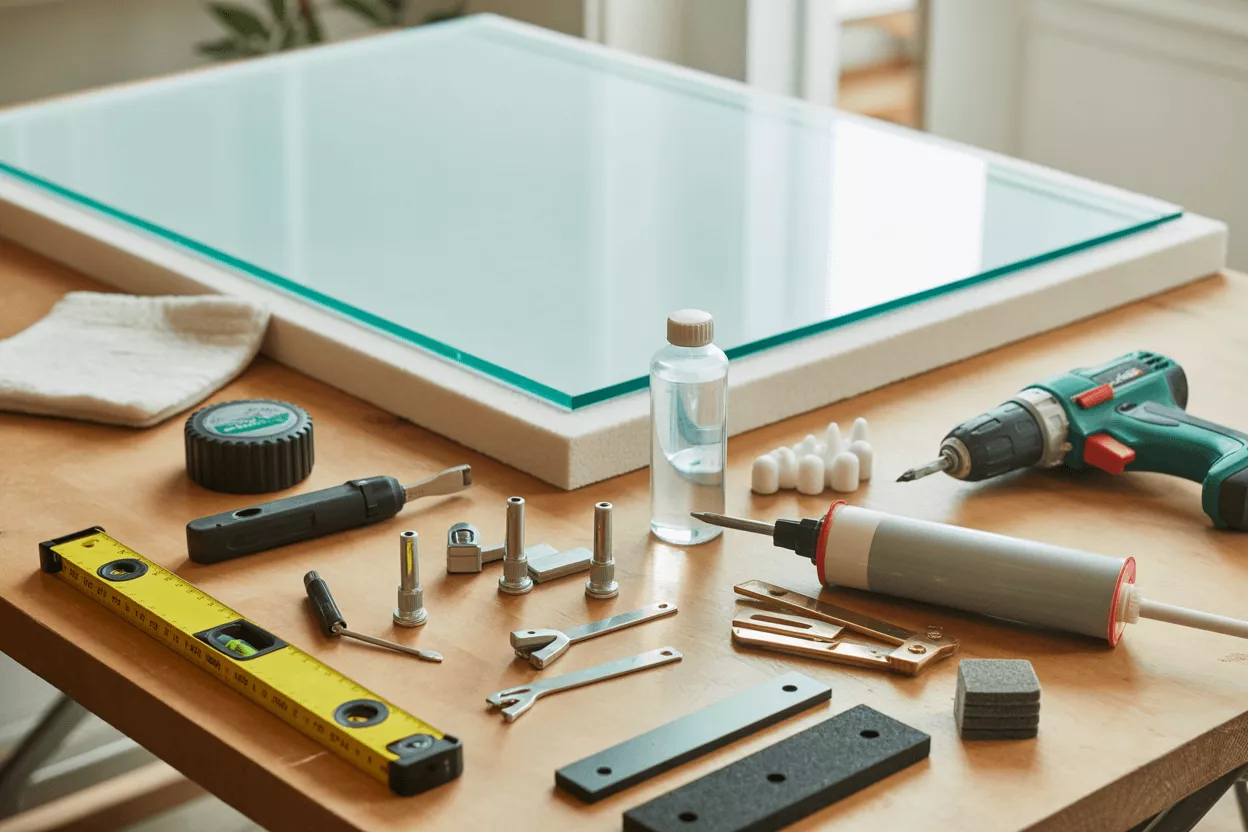
Tempered glass cannot be cut after production
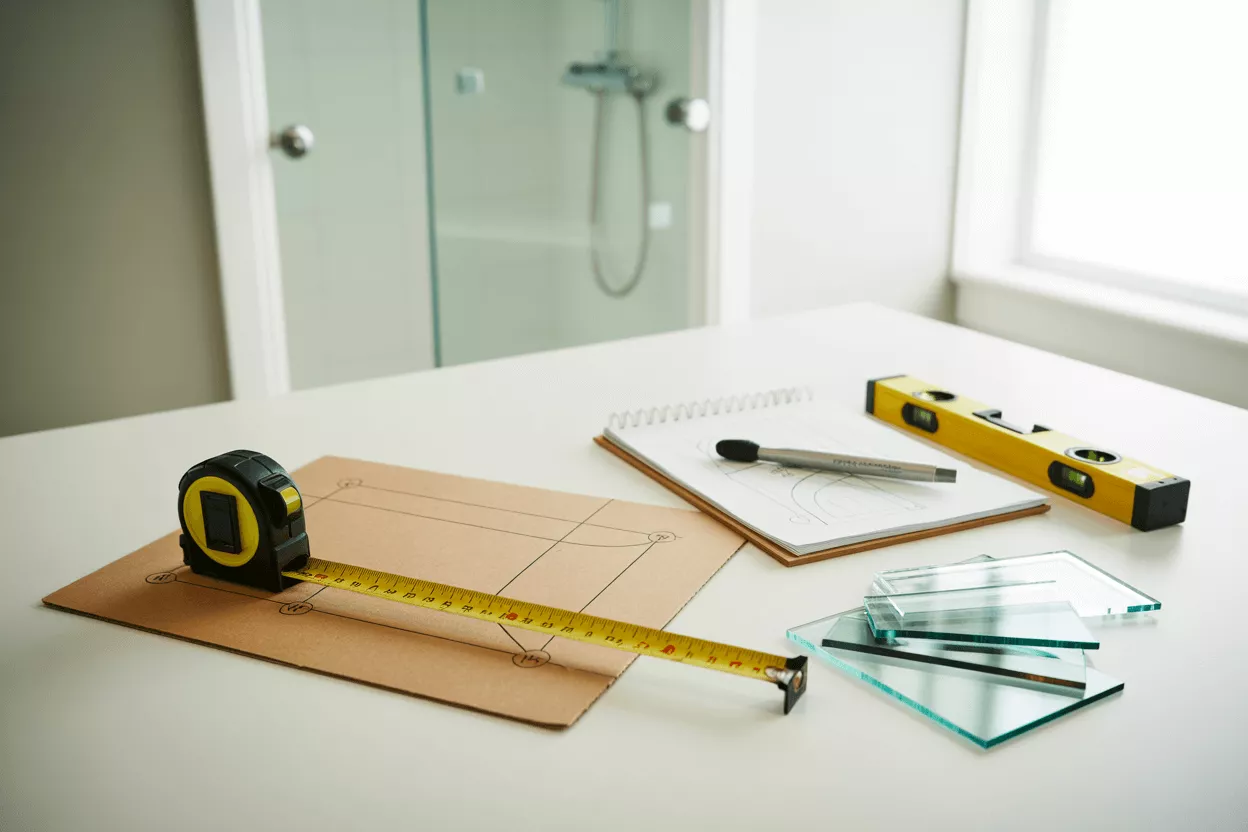
Requires precise measurement
Heavy and fragile during installation
May need specialized hardware
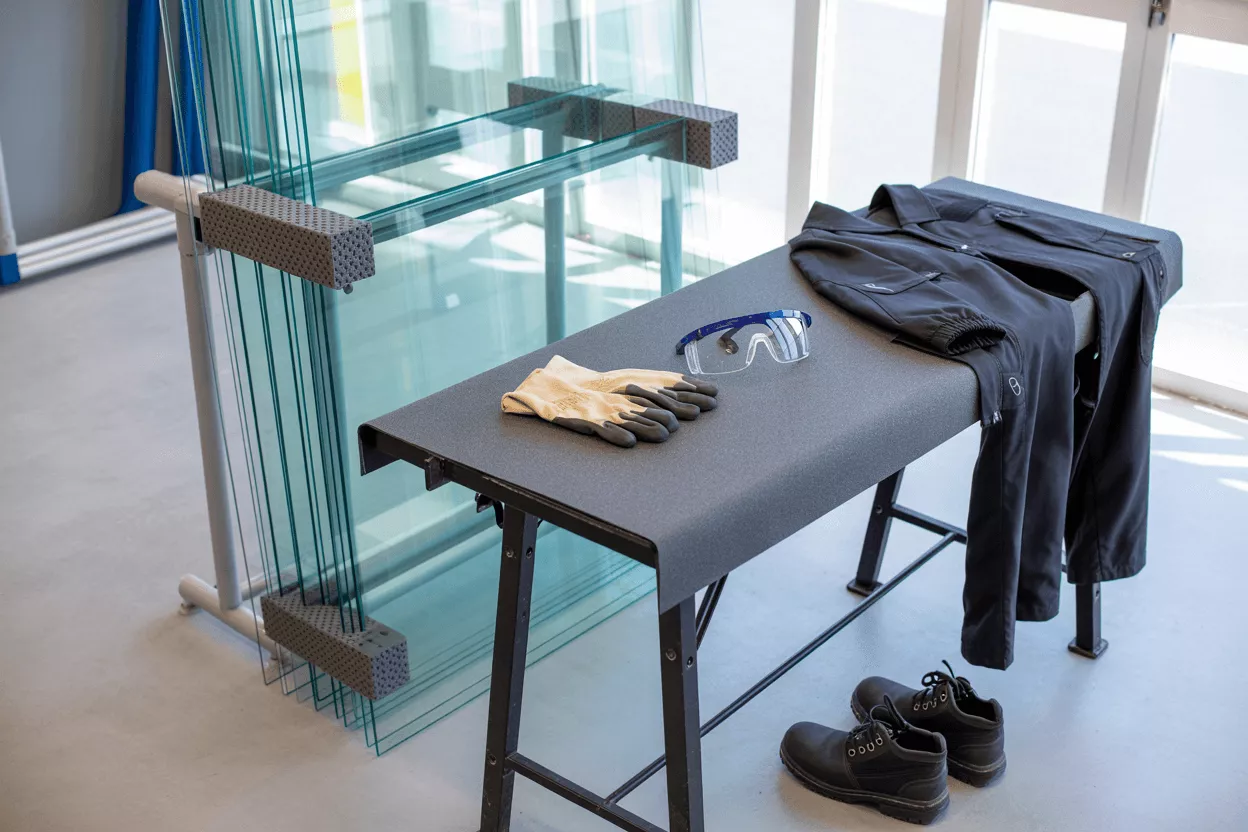
Safety First – What You Must Know
Personal Protective Equipment (PPE)
Safety gloves
Safety goggles
Anti-slip shoes
Long sleeves and pants
General Precautions
Always handle with clean hands and no jewelry
Store vertically with foam padding
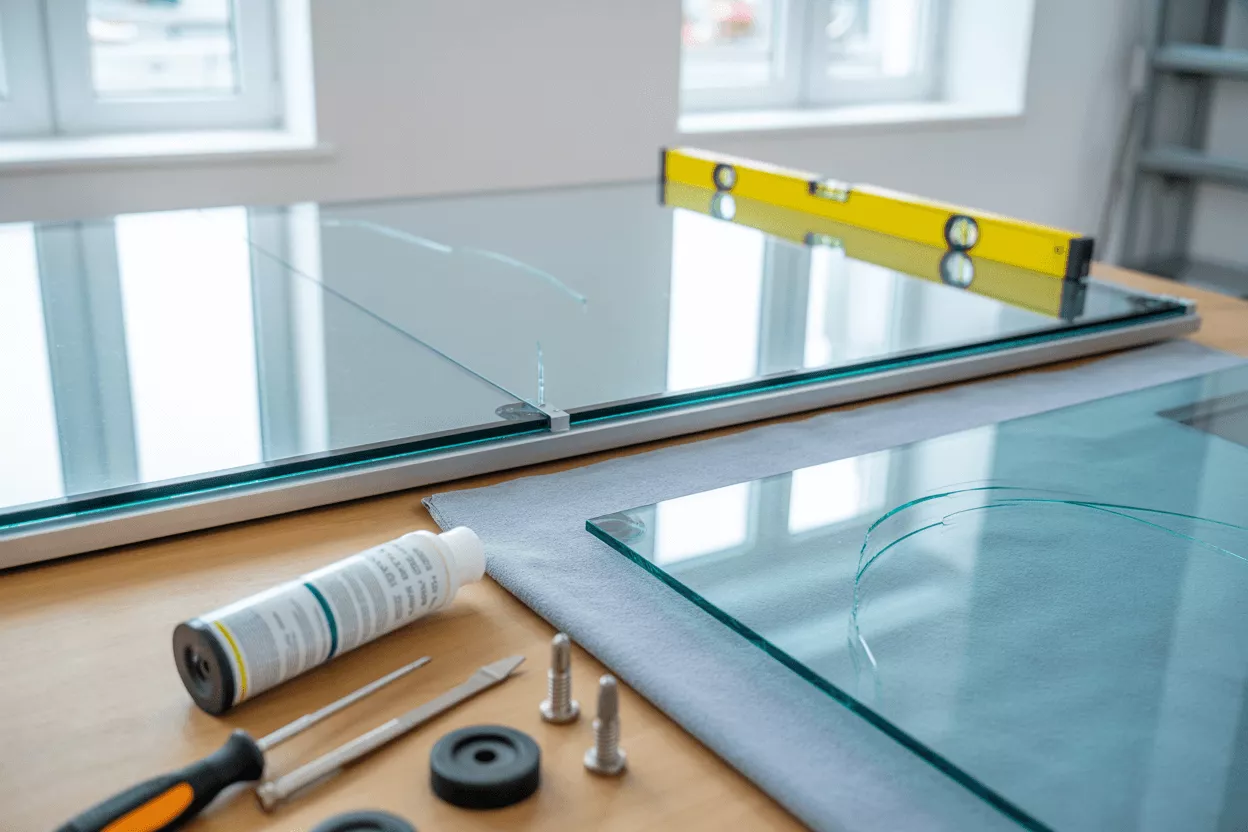
Work on a flat, cushioned surface
Never drill into or trim tempered glass, order it custom cut
Check if measurements were off, replacement may be needed
Glass scratches
Cannot be polished, replace if visible
Maintenance Tips for Longevity
Clean regularly with glass-safe cleaner
Avoid abrasive sponges
Check hardware yearly
Replace silicone seals when worn
Never apply force on edges or corners
Cost of DIY Tempered Glass Installation
Expense
Estimated Cost
Custom tempered glass (per sq. ft.)
$15 – $35
Hardware (clips, brackets, hinges)
$10 – $100
Silicone sealant & tools
$15 – $40
Total DIY cost
$60 – $250 (project-dependent)
DIY tempered glass installation is cost-effective if measurements and tools are handled correctly.
When to Hire a Pro Instead
You may need a professional installer if:
You are dealing with oversized panels (over 100 lbs)
You require structural changes
Your surfaces are uneven or not square
You are not comfortable with tools
Local code requires certified installation for safety reasons
Conclusion
Tempered glass installation might seem like a job best left to professionals, but with the right prep, tools, and guidance, DIYers can successfully handle many types of glass installation projects. If you are installing a tempered glass custom cut tabletop, replacing a window panel, or mounting a frameless shower door, this guide gives you the confidence and direction to do it safely.
For your next home improvement project, choose tempered glass cut to size from a trusted source like Fab Glass and Mirror, measure with care, and follow each step thoroughly.
FAQs
Yes, with proper measurements, tools, and safety steps, DIYers can install tempered glass panels for various home projects.
Clean the base, add bumpers, and gently place the tempered glass on top. Align carefully and avoid sliding the glass.
No, it must be custom cut before tempering. Measure carefully and order the correct size.
It depends on use: 1/4″ for small shelves, 3/8″–1/2″ for doors and tabletops.
Muhammad Bilal
Muhammad Bilal is a senior writer with 17 years of experience, specializing in engaging, well-researched content on glass and mirror products. His writing offers practical tips and insights tailored for homeowners and designers alike. With a clear, approachable style, he helps readers solve problems and explore ideas with confidence.
Related Posts
Explore all things glass—from stylish table tops and insulated options to tinted and frosted designs. Discover guides on glass railings, custom cut glass, shelves, and stunning backsplash ideas for a modern home or office upgrade.