


My Cart
You have no items in your shopping cart.


Putting awards, decorative pieces, and your hard-won collectibles and toys on the shelves, inside cardboard boxes, or closets is getting obsolete. Now everything is for display, and a glass display table is the best for it, what we call a fish tank coffee table. It gives a unique idea to add a storage space inside the display coffee table. Some ready-made glass display coffee tables are expensive, but if you want to build your own diy coffee table with glass top with a medium level of experience, just keep reading.

Table of Contents
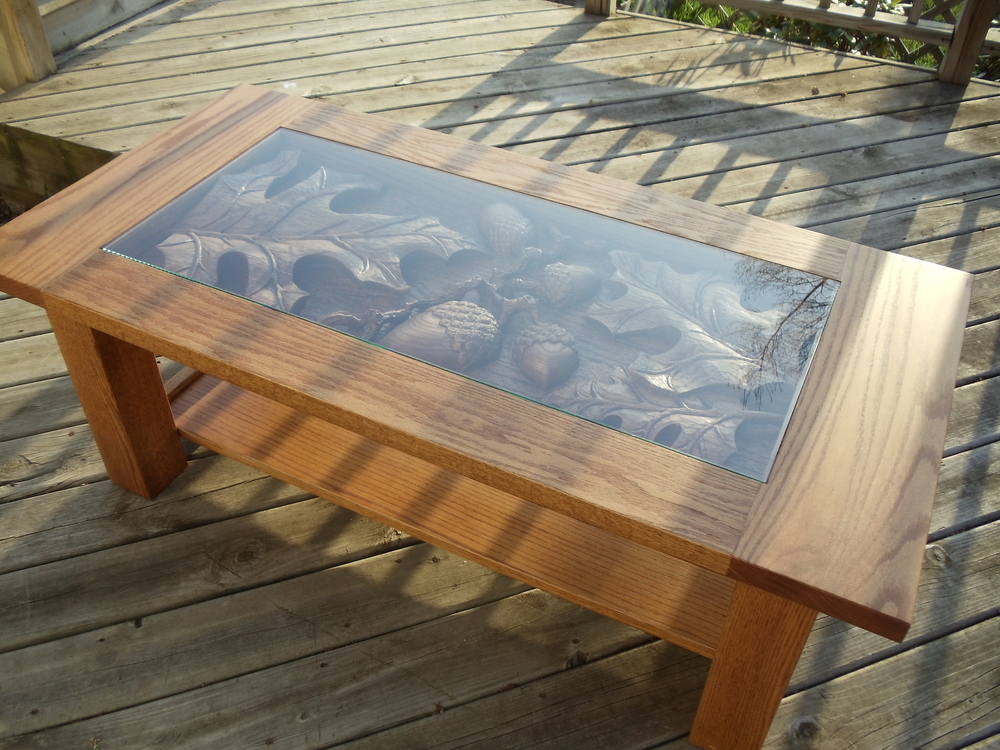
Image source: foter.com
These display coffee tables are increasingly popular because modern homes require good storage space for proper display. Glass display tables are also handy to put messy things in an organized place within an attractive display table while giving a neat and clean ambiance to the living room. Kids like to play with toys, but they throw them when they are tired. Displaying these toys will convince them to play another time because they like them to be in a safe and attractive place. Likewise, your guests mostly sit on the couch placed around the driftwood glass coffee table. Giving them a surprise with your hard-earned collectibles or awards is a fascinating way to show your achievements instead of merely describing them in words.
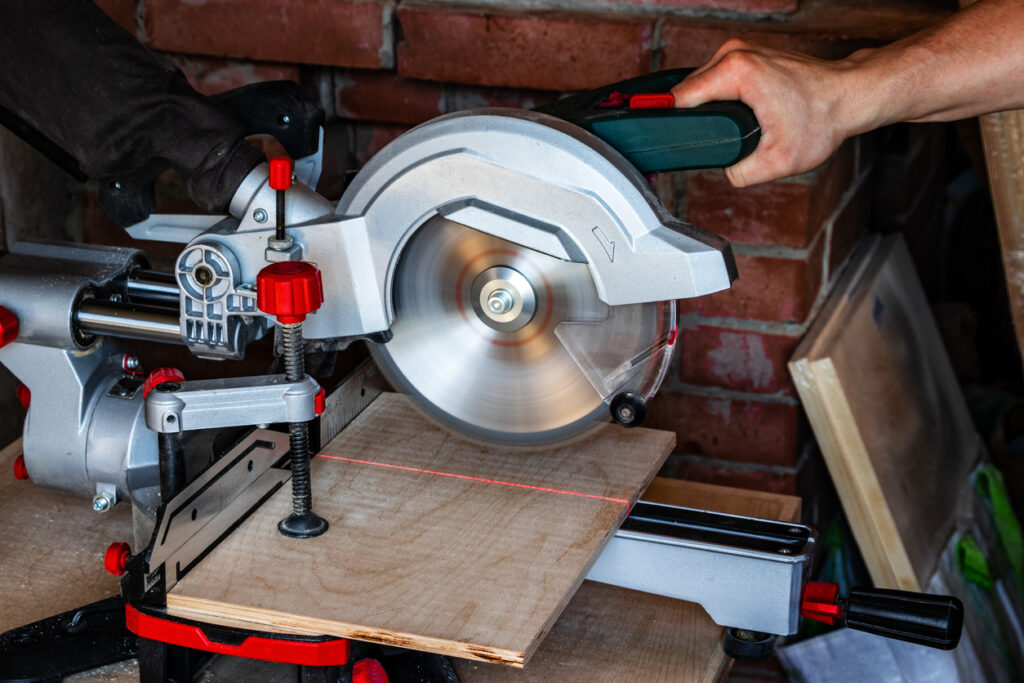
Mark the portion on the lumber where you need to cut. Make sure it should be cut to a bit oversize length (just a fraction of an inch) because you can never put the wood back but you can cut a little bit more if you need. It will make it easier to run it through the jointer. Use a miter saw to cut it into the required length. Before using the jointer, make sure to orient each piece of wood to be jointing in the direction of the grain to minimize any chances of chip-out.
Plane down every piece to approximately 1/8 inch thicker than what you need. Place the wood for some time and give some time if it wants to spring back a little bit. After that, you are ready to do the final planning for the second round. Design table legs if you are that expert or buy it online otherwise. After resting for a few days, the wood will become ready to be planned for the final thickness.
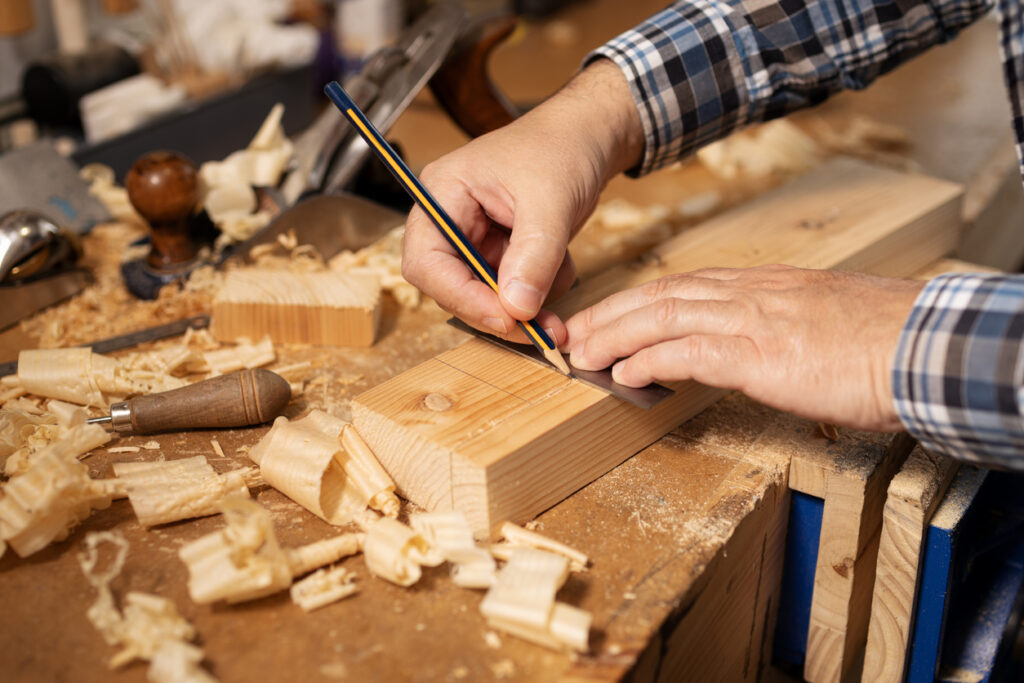
Now, measure the exact length of each piece and you are ready to make a test fit. Carefully mark the positions of the mortises in the end pieces of the table top.
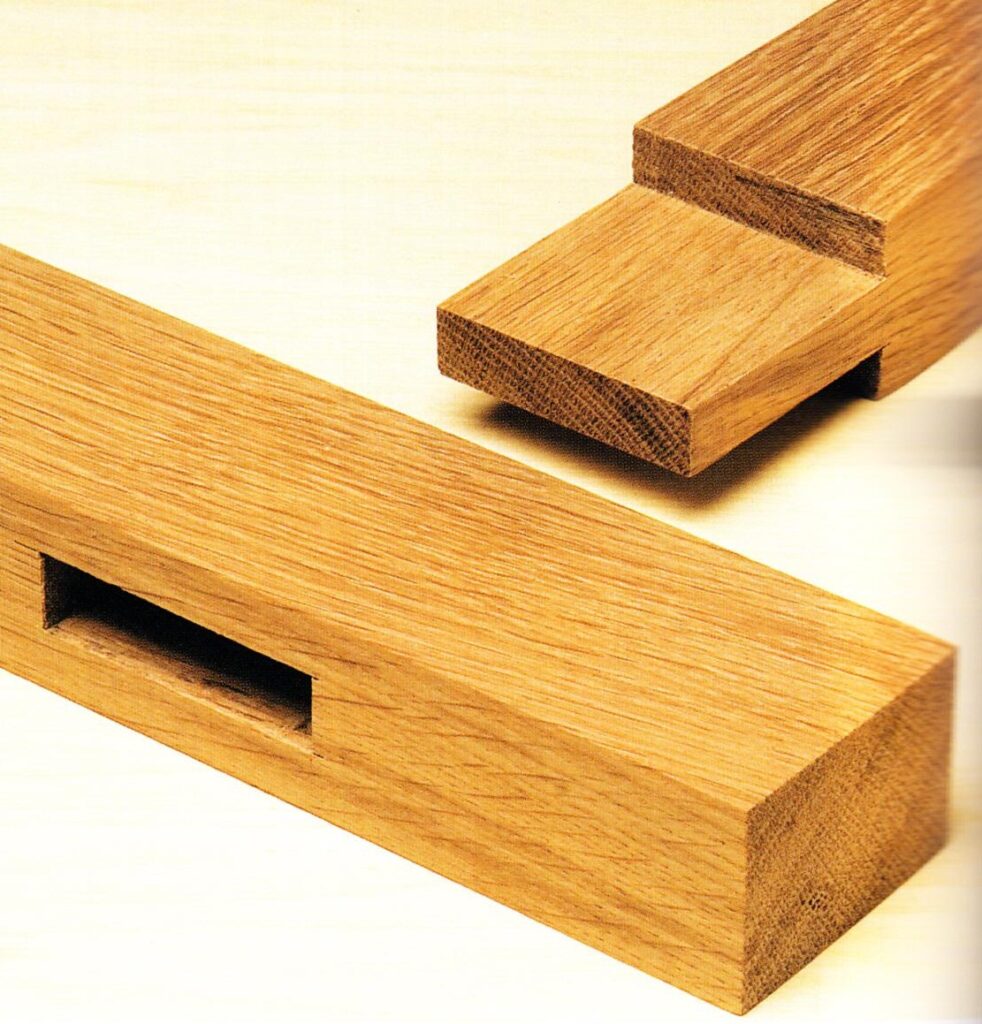
Cut a nice 3/8 inch mortise for the table top using a plunge router with the spiral up-cut bit. Cut a quarter-inch thick mortise for the table legs if the table apron attached to the table leg is 3/4 inch thick, while the table top is 1” thick. The tenons should be around one-third the thickness of the wood. For this reason, you should have 3/8 inch tenons and 3/8 inch mortises for the table top, and 1/4 inch, which is one-third of the 3/4 inch, for the tendons that go into the table legs. Use a tenon jig to cut the tenons in the ends of the pieces. Rounding over the corner of the tenons so it will fit into the mortise. Set up a table saw to cut the tenon for the table apron.
Now, make a test fit to make sure that table aprons and their tenons fit into the mortises on the table legs. If it fits well, place the table top frame to check how it will look. The table top is just a frame to hold the glass top in place.
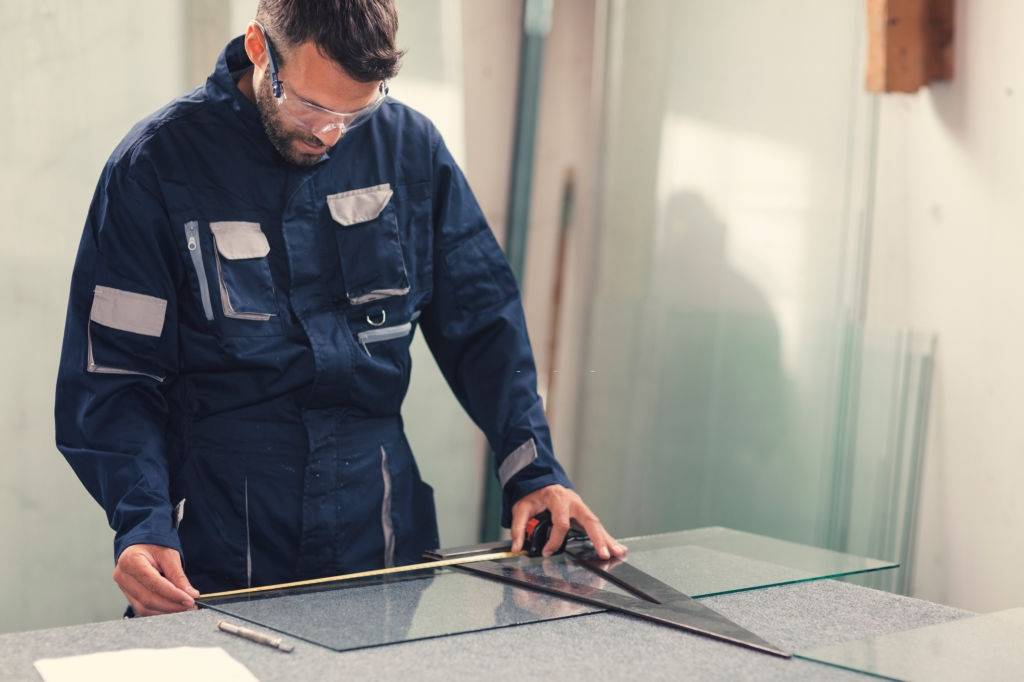
Are you wondering how to make a glass table? Whether you are designing a standard piece or a modern counter height glass table, a crucial first step is to measure the glass for table top so that it has a nice and clean fit. The right size means the right fit. For safety purposes, we recommend buying tempered glass inserts that are used for coffee tables in the living room. Moreover, you can order cut to size glass to fit well on the glass display tables.
Cut dado for the table bottom that will well fit inside the table. For the table bottom, cut out the corners that will go around the table legs. Test fit to see the table bottom and look if everything is measured correctly.
When you are confident that everything fits well, get ready to glue up. Use a mallet to tap it firmly into place. After that, put the glass top in place to check whether you have a nice square top. Use double-sided tape to attach strips of wood to the inside of the table apron. And apply glue on the top to attach the table top frame. After applying glue, remove the double-sided tape. You will get strips of wood to hold the table top in place so it won’t slide off.
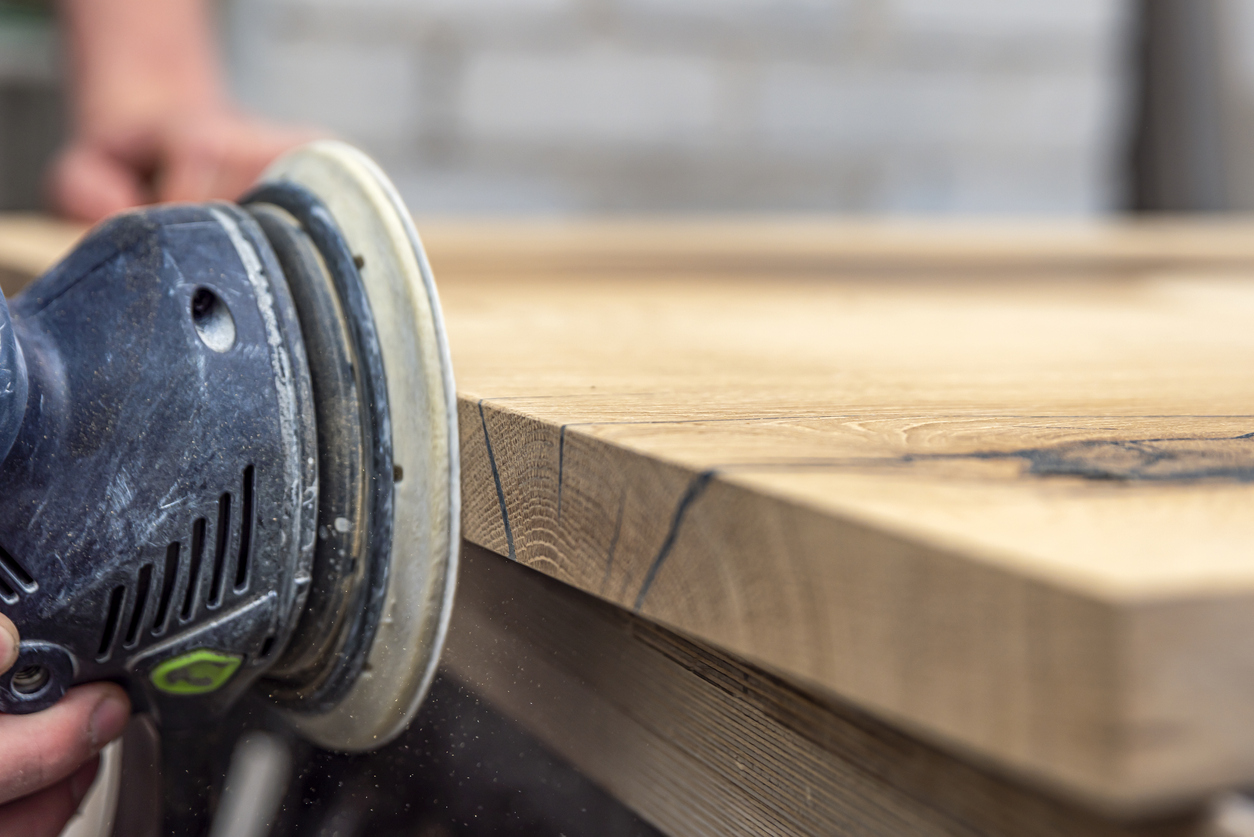
After that, routing the outside edge to have a nice profile on the edge of the table top frame. Sanding the table with 120-grit, then 150-grit, and then 220-grit prior to finishing. Label every piece so that it connects to the other right piece for which it is built. Glue up the table apron and legs, and install the table bottom. Use a band clamp around the outside to hold everything together in place.
Start the finishing with a pre-stain. Use MinWax Golden Pecan stain on the oak. Use semi-gloss polyurethane for the matte-like finishing. Install a red or blue felt on the bottom of the table using spray adhesive and double-sided tape. Finally, you are ready to put medals, awards, or anything like that on the table.

Explore all things glass—from stylish table tops and insulated options to tinted and frosted designs. Discover guides on glass railings, custom cut glass, shelves, and stunning backsplash ideas for a modern home or office upgrade.


