My Cart
You have no items in your shopping cart.
Replacing traditional glass with plexiglass in your door panels is an ideal way to upgrade your home’s safety, insulation, and aesthetic appeal. Glass is known for its clarity and elegance, but it’s also fragile and prone to breaking under impact. This is where plexiglass, a durable acrylic alternative, comes into play. Whether you’re working on a patio door, front door, cabinet, or interior partition, learning how to replace glass door panels with plexiglass can be both cost-effective and highly rewarding. This guide offers step-by-step instructions for DIYers and homeowners, integrating practical tips, safety insights, and expert-approved techniques.
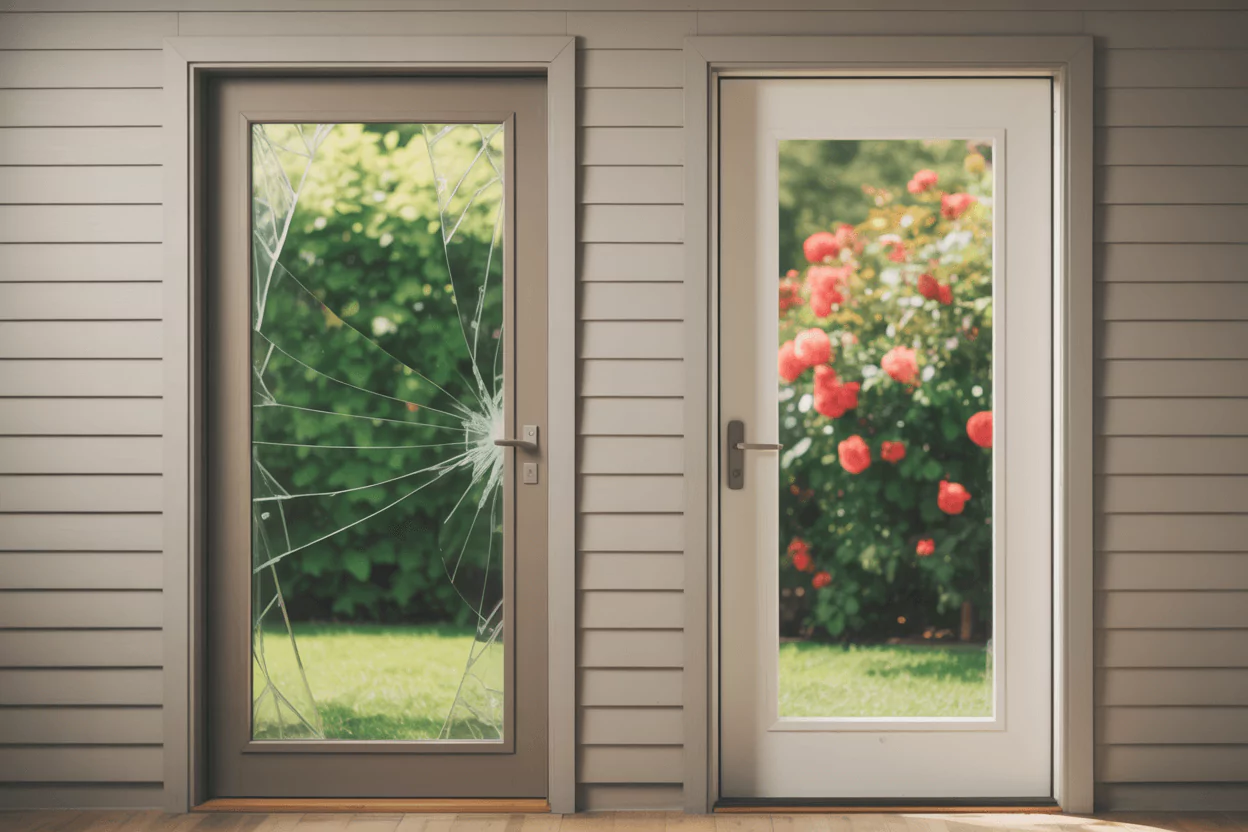
Table of Contents
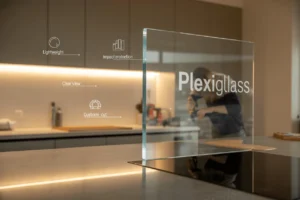
Replacing a glass door with plexiglass improves safety, durability, and energy efficiency. Plexiglass is up to 10 times stronger than regular glass, making it shatter-resistant and ideal for homes with children or high-traffic areas. It’s also lighter and easier to handle during installation. Plexiglass offers better insulation in some cases, reducing energy loss, and is available in clear, tinted, or frosted options for customized style and privacy. Additionally, it blocks harmful UV rays and lasts longer in outdoor conditions without yellowing or cracking. Here are some proven benefits of plexiglass:
So, is plexiglass better than tempered glass for doors? It depends. While tempered glass is stronger than standard glass and resists impact, plexiglass is lighter, safer on breakage, and more DIY-friendly, ideal for residential upgrades.
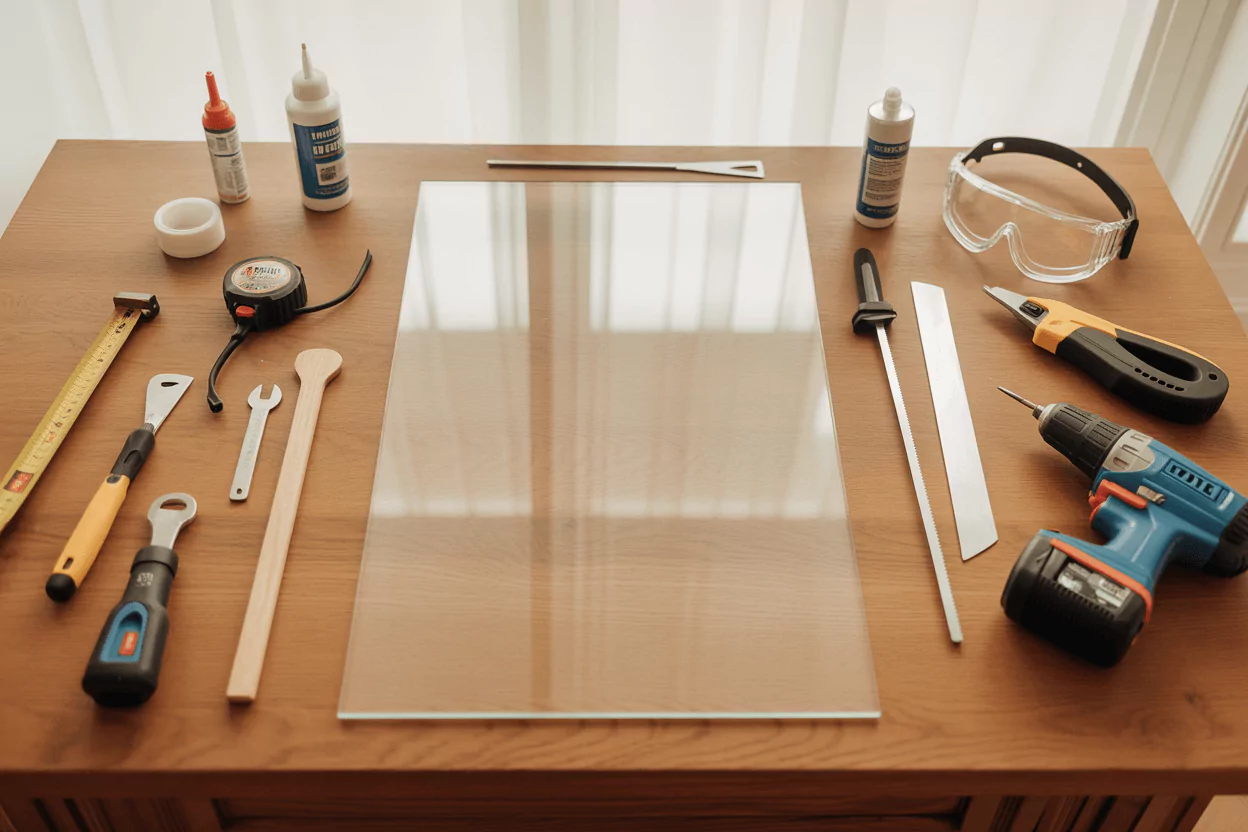
Before diving into the process of plexiglass door panel installation, gather these essentials:
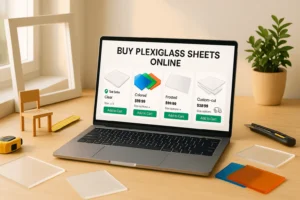
You can buy plexiglass door panel products online or at local home improvement stores. Look for high-quality clear acrylic door panels for the best clarity and durability.
Let’s explore the full door panel replacement guide, starting from the removal of the existing glass.
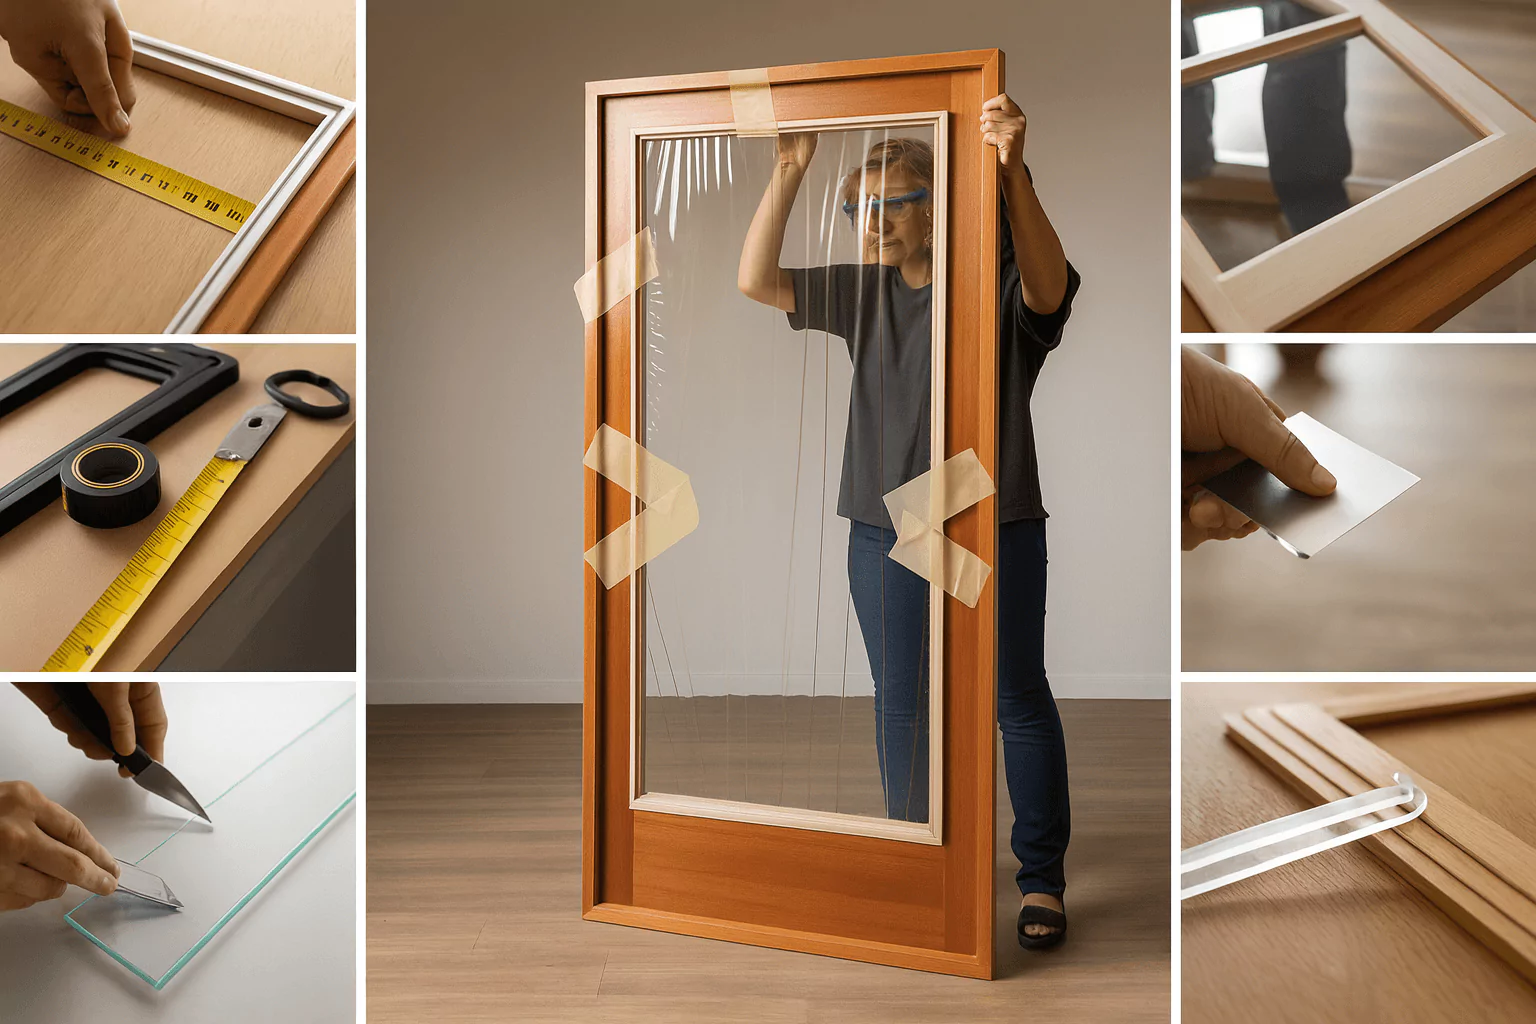
Before you remove the glass door panel, wear protective gloves and goggles. Lay down a blanket or cardboard under the door to catch any falling debris.
This completes the removal of the glass door panel process.
Use the opening left by the removed glass to measure your replacement. If not pre-cut, use plexiglass cutting tools such as:
After cutting, use plexiglass trimming edge tools to smooth the sides and eliminate sharp edges.
Before permanent installation, place the acrylic door panel replacement in the opening to ensure fit. Use masking tape to temporarily hold it in place.
You can mount the plexiglass in multiple ways:
Use clear silicone sealant to weatherproof and stabilize the edges. Smooth with a gloved finger for a neat finish.
Congratulations! You’ve completed the plexiglass door panel installation successfully.
Always order plexiglass sheets for doors slightly larger than needed and trim down.
If you are ready to upgrade, you can buy plexiglass door panels online from specialty retailers like Fab Glass and Mirror. We offer a variety of sizes, finishes, and custom-cut options. Local hardware stores also carry standard-size plexiglass sheets for doors, but always check for UV resistance and impact ratings, especially for exterior door use.
Replacing a glass panel with plexiglass is a smart, safe, and affordable home improvement project. Whether you’re upgrading for safety, insulation, or design, this guide gives you all the knowledge to tackle a door panel insert replacement with ease. From choosing the right tools and materials to understanding fit and finish, you now know how to install plexiglass on a door like a pro.
So go ahead, replace your glass door panel with durable, versatile plexiglass and enjoy a long-lasting upgrade to your home’s style and safety.
Yes. Replacing front door glass with plexiglass is common in homes prioritizing safety and durability. Use thick, UV-protected sheets for best results.
Plexiglass is more prone to scratching than tempered glass. However, you can use scratch-resistant variants, apply a protective film or polish out light scratches with specific products.
For many indoor or protected outdoor applications, yes. Plexiglass offers better impact resistance, safety, and customization. But tempered glass remains the top choice for high-security or fire-rated needs.
Explore all things glass—from stylish table tops and insulated options to tinted and frosted designs. Discover guides on glass railings, custom cut glass, shelves, and stunning backsplash ideas for a modern home or office upgrade.