

My Cart
You have no items in your shopping cart.
However, it is best to opt for a fire pit wind guard for maximum safety and protection.
As the name says, it is a glass wind guard that protects the surroundings of the fire pit. These fire pit guards are also becoming increasingly popular. This blog post is all you need to know about making a fire pit wind guard using a DIY method. So, let us get started!
Table of Contents
Before you begin your DIY project, gather the necessary materials. Building a custom wind guard requires specific heat-resistant components to ensure safety and longevity.
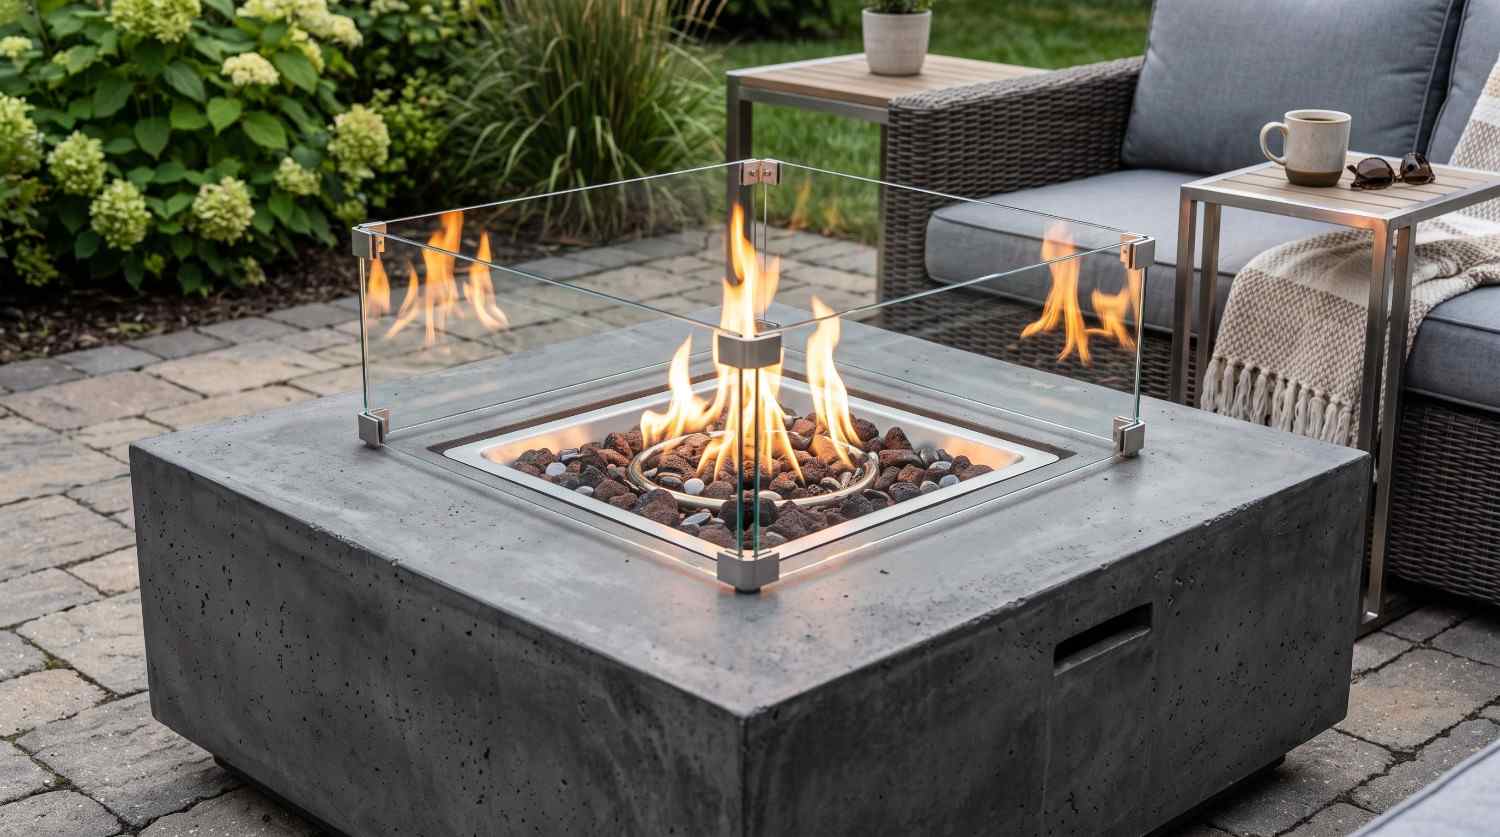
A fire pit wind guard is a protective wind guard that protects your fire pit and its surroundings. It doesn’t let the flame touch the nearby placed items. Further, it also blocks the passage of direct relying on a cleaner and smoother fire flame.
This not just contributes to the safety aspect of the fire pit but also enhances its aesthetic appeal.
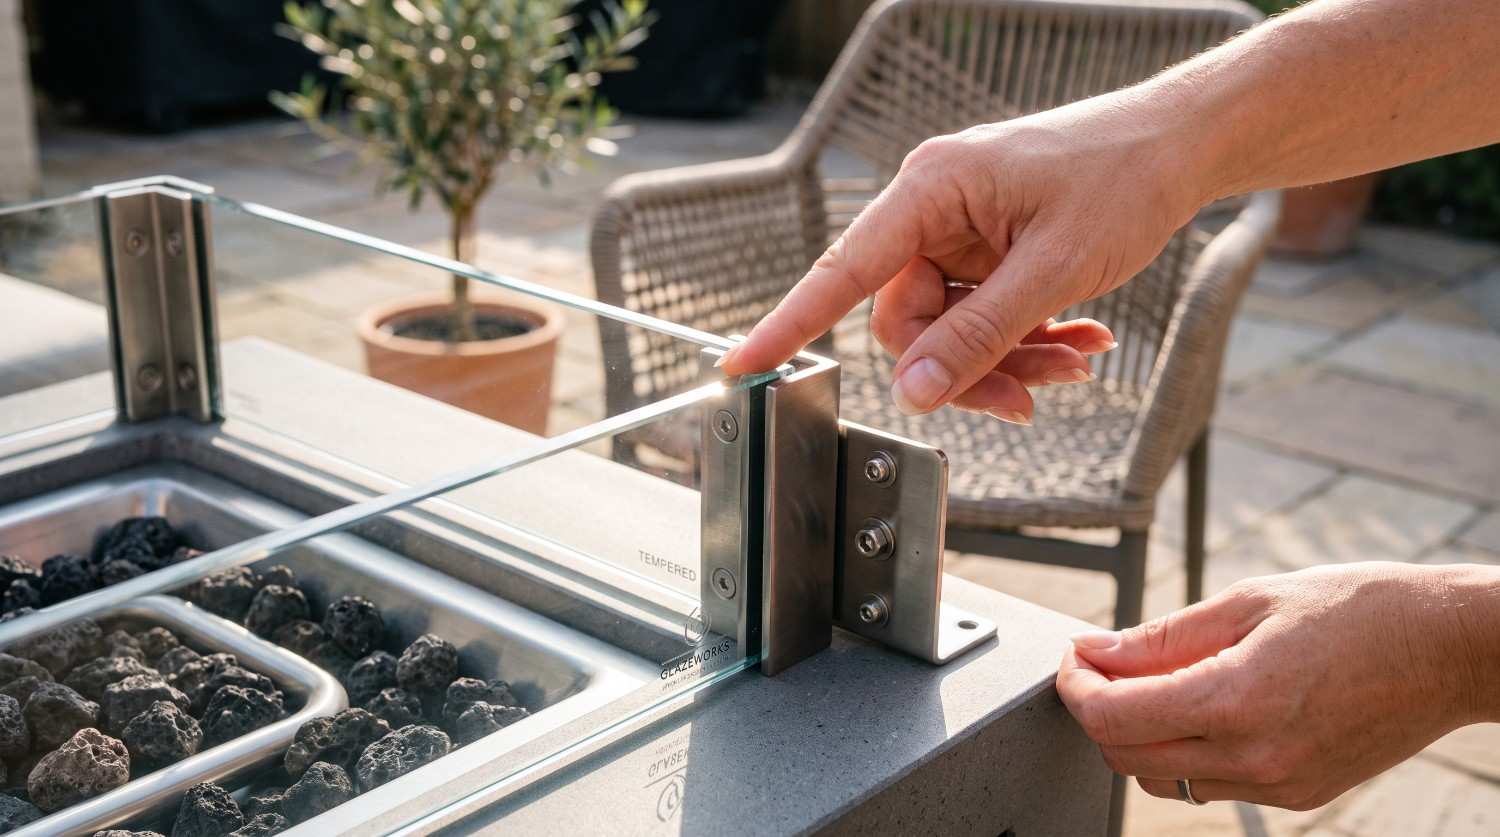
A standard fire pit wind guard won’t fit all types of fire pits. That’s because each fire pit has different dimensions. Therefore, making a custom glass frame guard is best for the best looks and maximum safety. Here is a brief step-by-step guide on how to make a custom flame guard for any gas fire pit:
The most critical part of this DIY project is ensuring the glass is not too close to the flame. Do not measure the exact size of the burner pan opening.
A common DIY mistake is forgetting that corner brackets add width to the final assembly.
The standard and most effective height for a fire pit wind guard is 6 inches. This is tall enough to block the breeze from blowing out the flame, but low enough to allow the heat to radiate outward to warm your guests. If you live in an exceptionally windy area, you can opt for 8 inches.
Never use standard (annealed) glass or acrylic/plexiglass near a fire pit; they will crack, shatter, or melt. You must use Tempered Glass. We highly recommend 3/16” thick tempered glass with flat polished edges for a clean, safe finish.
Once you have noted the size, thickness, and height, it’s time to order the custom cut glass panels. It is best to use custom tempered glass panels for maximum safety and protection.
That’s because these glass panels can bear high-temperature ranges without breaking. Also, tempered glass is impact resistant to a great extent.
We recommend buying custom tempered glass panels from Fab Glass and Mirror. Here, you can order your chosen glass panel in any size and thickness.
Once your custom glass and brackets have arrived, it’s time to put it together.
Lay down a thick blanket, towel, or large piece of cardboard on a flat surface. Tempered glass is very strong against flat impact, but its edges are vulnerable. Never assemble the wind guard directly on concrete or tile.
Take your four bottom brackets (these will have rubber feet on the bottom to allow airflow under the glass). Slide a bottom bracket onto the bottom corner of one glass panel. Slide a second glass panel into the other side of the bracket at a 90-degree angle.
While holding the two panels steady, slide a top corner bracket onto the top corners to lock the 90-degree angle in place. Repeat this process for the remaining panels until you have formed a square or rectangle.
Using your screwdriver, tighten the set screws on all brackets to secure the glass.
PRO TIP: Do not overtighten the screws! Turn them just enough so the glass feels secure. When glass gets hot, it expands. If the screws are cranked too tight, the glass will have no room to expand and may shatter.
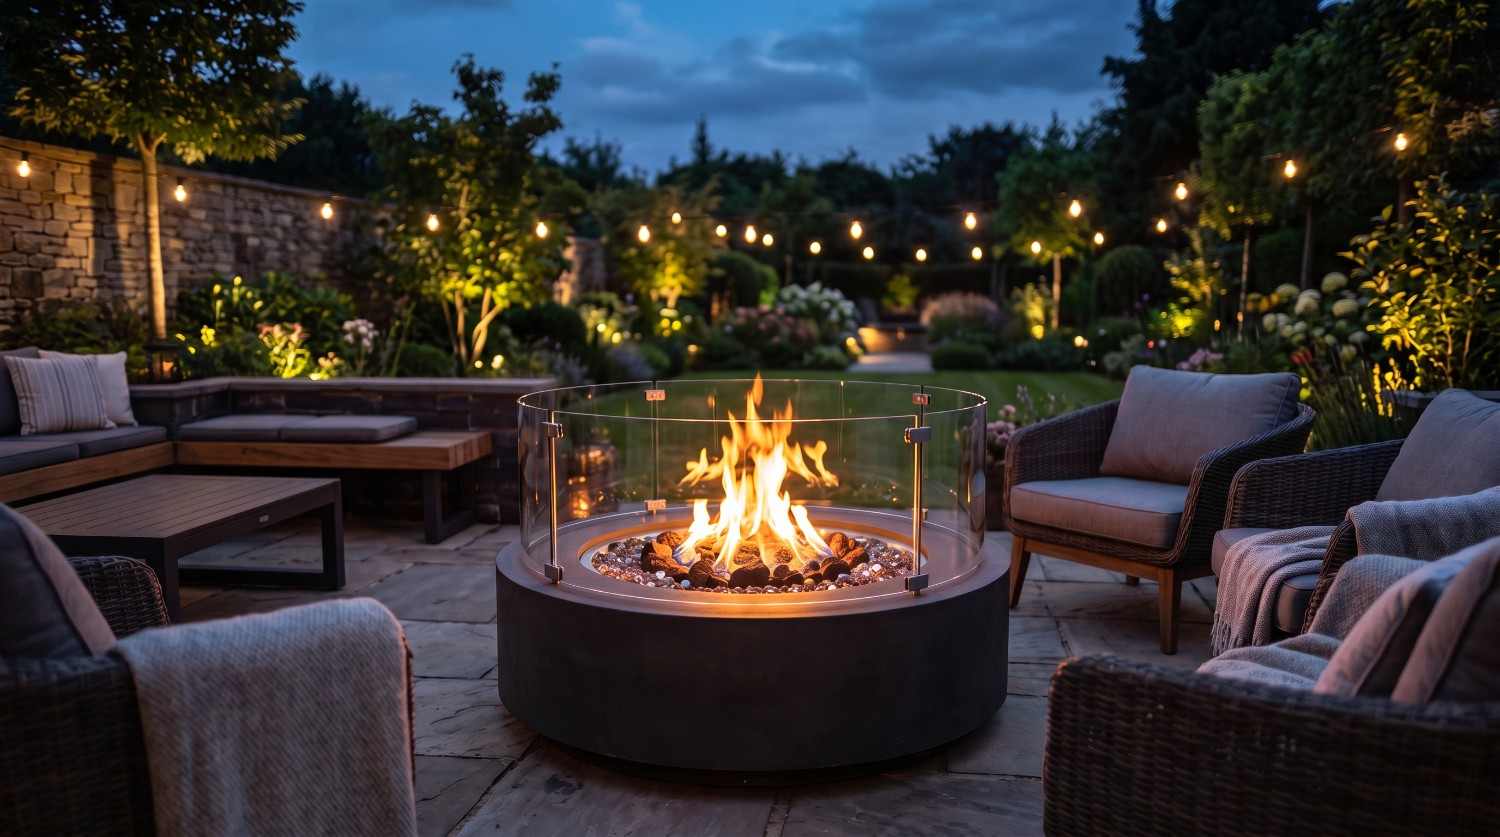
A glass wind guard offers many exciting benefits. Here are a few of these benefits:
Glass wind guards require no to little maintenance. That’s because they are made of quality safety standard glass which is also scratch-resistant. So, to clean it up, you need a clean microfiber cloth. Further, for deep cleaning, you can use any glass cleaner.
That is the obvious reason and benefit of choosing fire pit wind glass guards. They offer the best protection and prevent the flame from spreading around. This gives you peace of mind, and you can enjoy the warmth of the fire pit.
When a glass wind guard surrounds all the fire flames, there is nothing to worry about here. So, installing a glass wind guard helps you get the most out of any fire pit. It keeps you and your loved ones safe and protected from any kind of fire hazards.
A fire pit without a glass wind guard looks incomplete. A glass wind guard makes it a safe, easy, and convenient way to warm up any living space. Moreover, it’s a perfect value addition to any home interior or exterior.
As highlighted earlier, glass wind guards also look great. Provided that you have installed them right, they will definitely enhance the aesthetic appeal of your property. Further, their clean and minimalistic looks make your cold evenings a joy to remember.
Not for Extreme Weather: While a wind guard protects against moderate breezes, you should not operate your fire pit during high winds or extreme weather conditions.
Wait Before Cleaning: Fire pits create soot that will stick to the inside of your glass. Always wait until the glass is completely cool to the touch before attempting to clean it. Spraying cold glass cleaner on hot glass can cause thermal shock and breakage.
Airflow is Mandatory: Ensure the bottom brackets you use have rubber feet. These feet create a necessary gap between the fire pit table and the glass, allowing air to flow under the glass and feed the flame.
So, now you know all about making a fire pit wind guard. As mentioned, it is not a tough process. You just have to take the right measurements and order your chosen glass panels from Fab Glass and Mirror. This will help you get the best out of your glass wind guard. Furthermore, the glass wind guards from Fab Glass and Mirror also improve your property’s worth. Plus, they look equally good.

Explore all things glass—from stylish table tops and insulated options to tinted and frosted designs. Discover guides on glass railings, custom cut glass, shelves, and stunning backsplash ideas for a modern home or office upgrade.