
My Cart
You have no items in your shopping cart.
For a swinging glass gate, the final glass width is based on the smallest opening measurement minus the clearances required by the selected hinge and latch system. Do not use a generic deduction when ordering custom glass; confirm the hardware manufacturer’s required gaps first. Because tempered safety glass cannot be cut, drilled, or trimmed after it is tempered, every dimension has to be final before fabrication begins.
This guide walks through every measurement, in order, with nothing assumed. Whether you have never held a tape measure against a doorway or you install glass for a living, you will be able to produce a measurement sheet your fabricator, like Fab Glass and Mirror, can build from.

Tempering is a heat treatment: the glass is cut, drilled, notched, and polished to final shape, then heated to roughly 620 °C (1,150 °F) and rapidly cooled. That process locks the outer surfaces in compression, which is what makes the panel four to five times stronger than ordinary glass and what makes it break into small blunt granules instead of shards if it ever fails. It is also what makes the panel permanent. Score a tempered panel with a glass cutter and it does not cut, it disintegrates.
This is the same property that gives a glass pet gate its advantages. It does not warp in humidity, it does not yellow, it has no paint or laminate film to peel, and its hard surface resists the claw marks that shred a wooden or mesh gate within a season. Those benefits come from the material being finished, sealed, and final. So does the measuring requirement.
The practical rule: Every hole, notch, radius, and edge dimension must be correct on the order form, because none of them can be changed afterward. Measure three times. Order once.
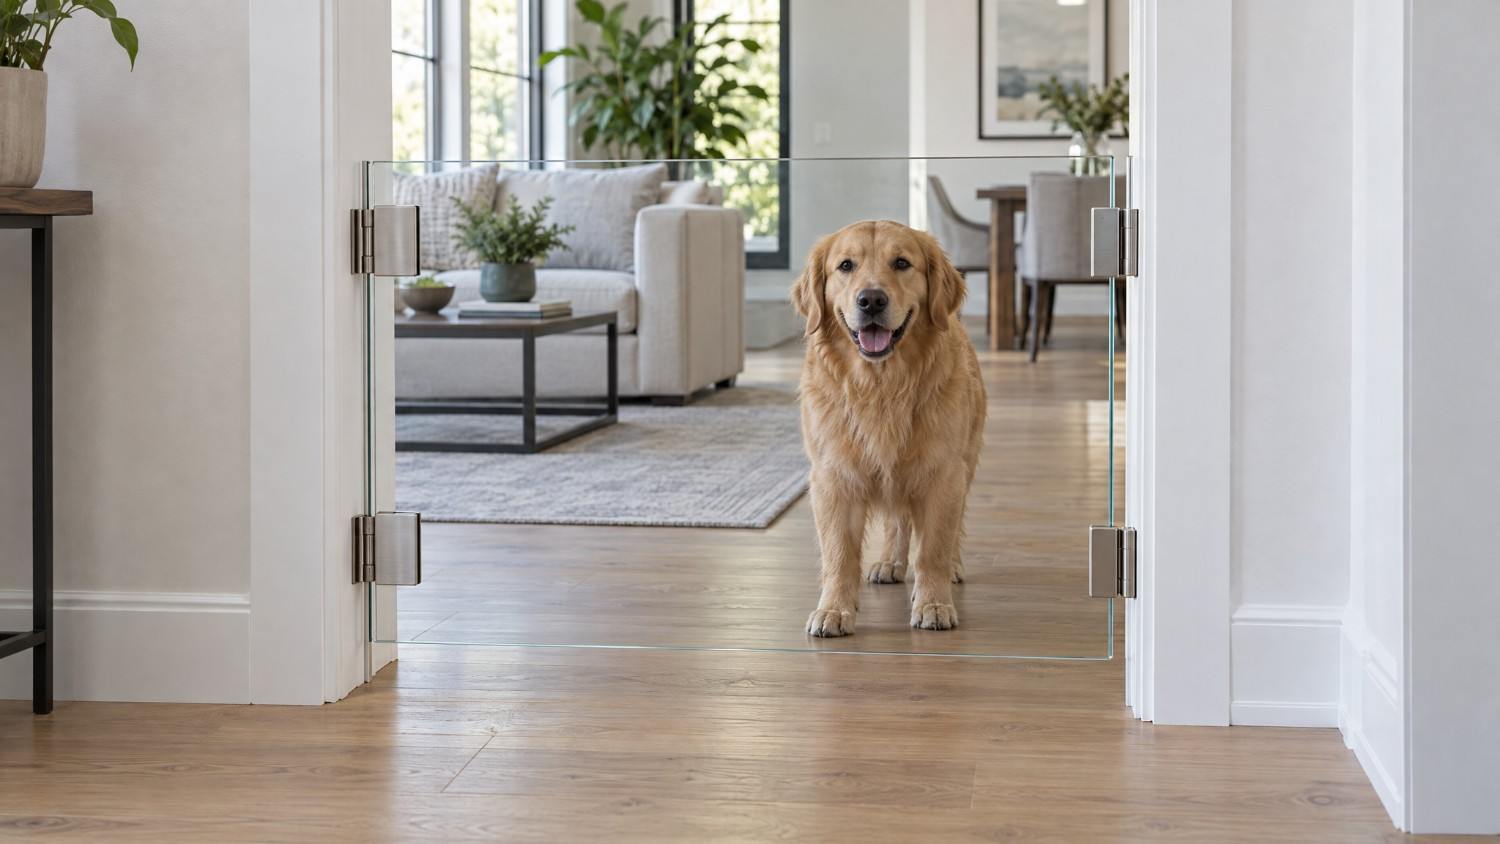
Learn these six terms and the rest of the process becomes easy.
| Term | What it means |
| Rough opening | The raw framed hole in the wall, before trim, jambs, or finished flooring. You will rarely measure this for a gate. |
| Finished opening | The hole as it exists on the day of installation, after drywall, jambs, casing, paint, and finished floor. This is what you measure. |
| Daylight opening | The visible clear space you can actually see through. For a trimmed doorway, the finished opening and daylight opening are the same. |
| Glass size | The actual dimensions the panel is cut to. Always smaller than the finished opening. |
| Reveal / gap | The deliberate air space between the glass edge and the wall or jamb. |
| Floor clearance | The vertical gap between the bottom edge of the glass and the finished floor. |
| Deduction | The total amount subtracted from the opening to arrive at the glass size. Deduction = hinge-side gap + latch-side gap. |
One more distinction that trips people up: gate height is not the same as glass height. If you want the top of the gate to sit 36″ above the floor and you are leaving 2″ of floor clearance, the glass itself is 34″ tall.
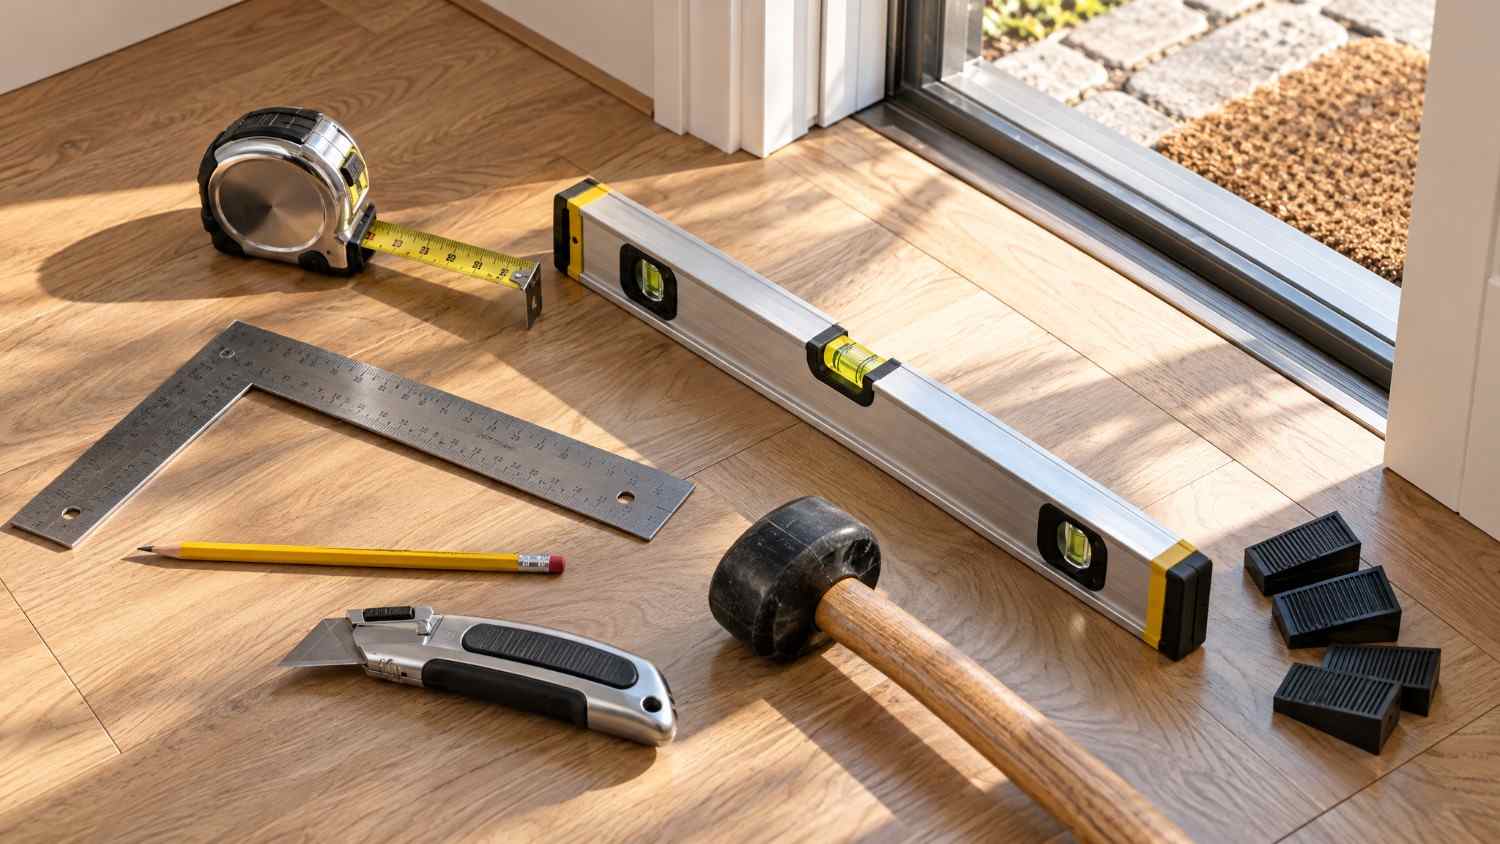
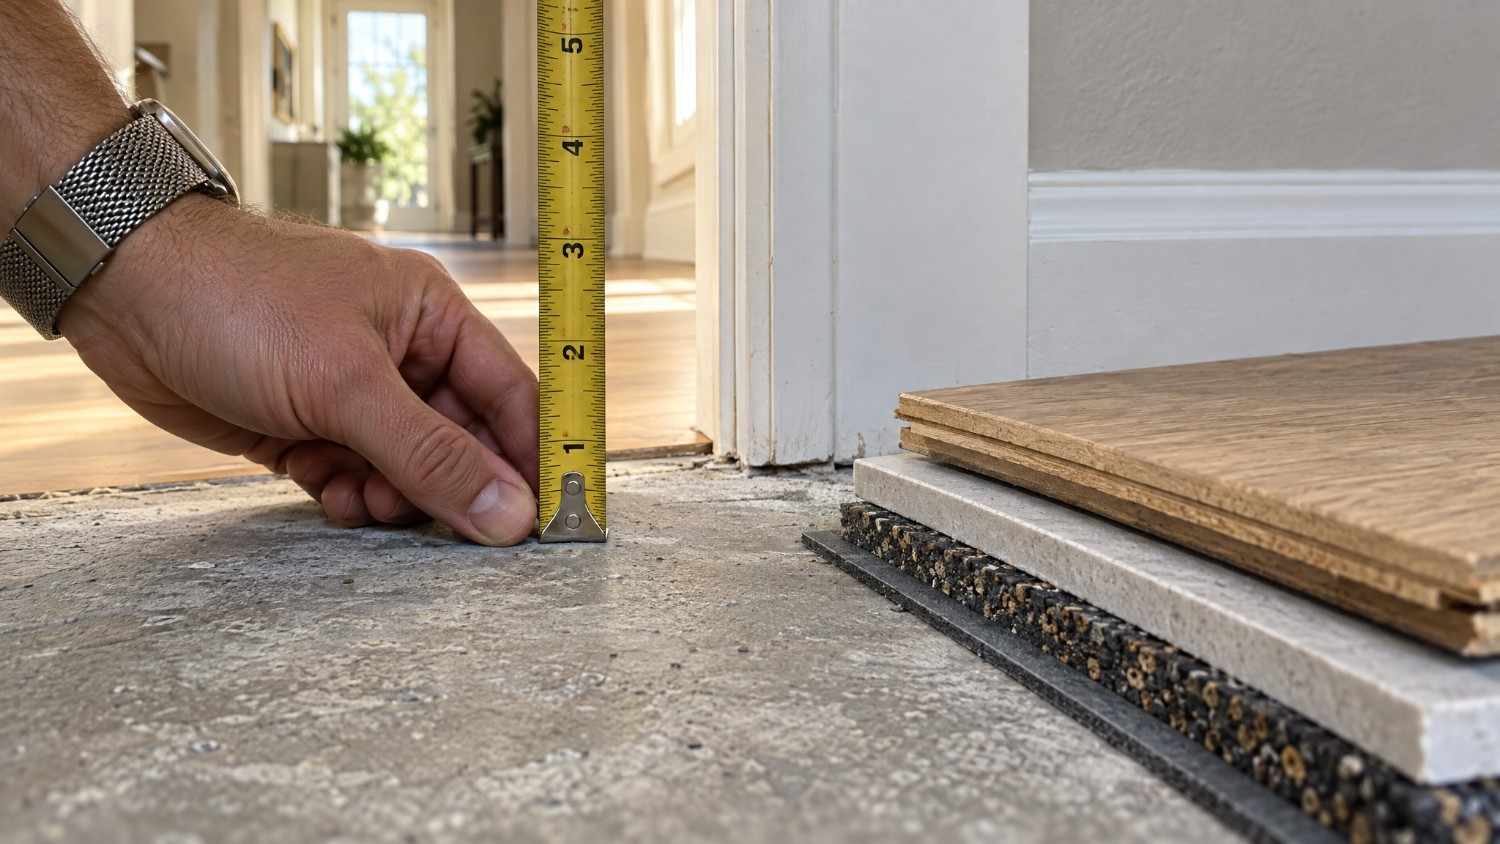
Answer these before a tape comes out. Each one changes the numbers.
If new tile, hardwood, or carpet is going in after you order, your floor clearance will shrink by the thickness of that floor. Either wait, or measure from the existing subfloor and subtract the finished floor build-up (tile + thinset is typically 1/2″–3/4″; engineered wood with underlay 1/2″–5/8″; carpet with pad 1/2″–3/4″).
Casing and baseboard reduce your clear opening. If you plan to remove or replace the casing, measure the opening as it will be after the work, not as it is today.
This determines which side gets hinges, which side gets the latch, and where the handle lands. At the top of a staircase, the gate must swing away from the stairs, never out over the steps.
Drywall over wood studs, plaster over lath, tile over cement board, and solid masonry each demand different anchors and different backing. This affects whether you can hang a heavy panel where you want it.
This guide covers wall- or post-mounted hinged glass gates, which is the dominant format. A freestanding glass panel has no opening to measure; you simply choose a panel size and check footprint clearance.
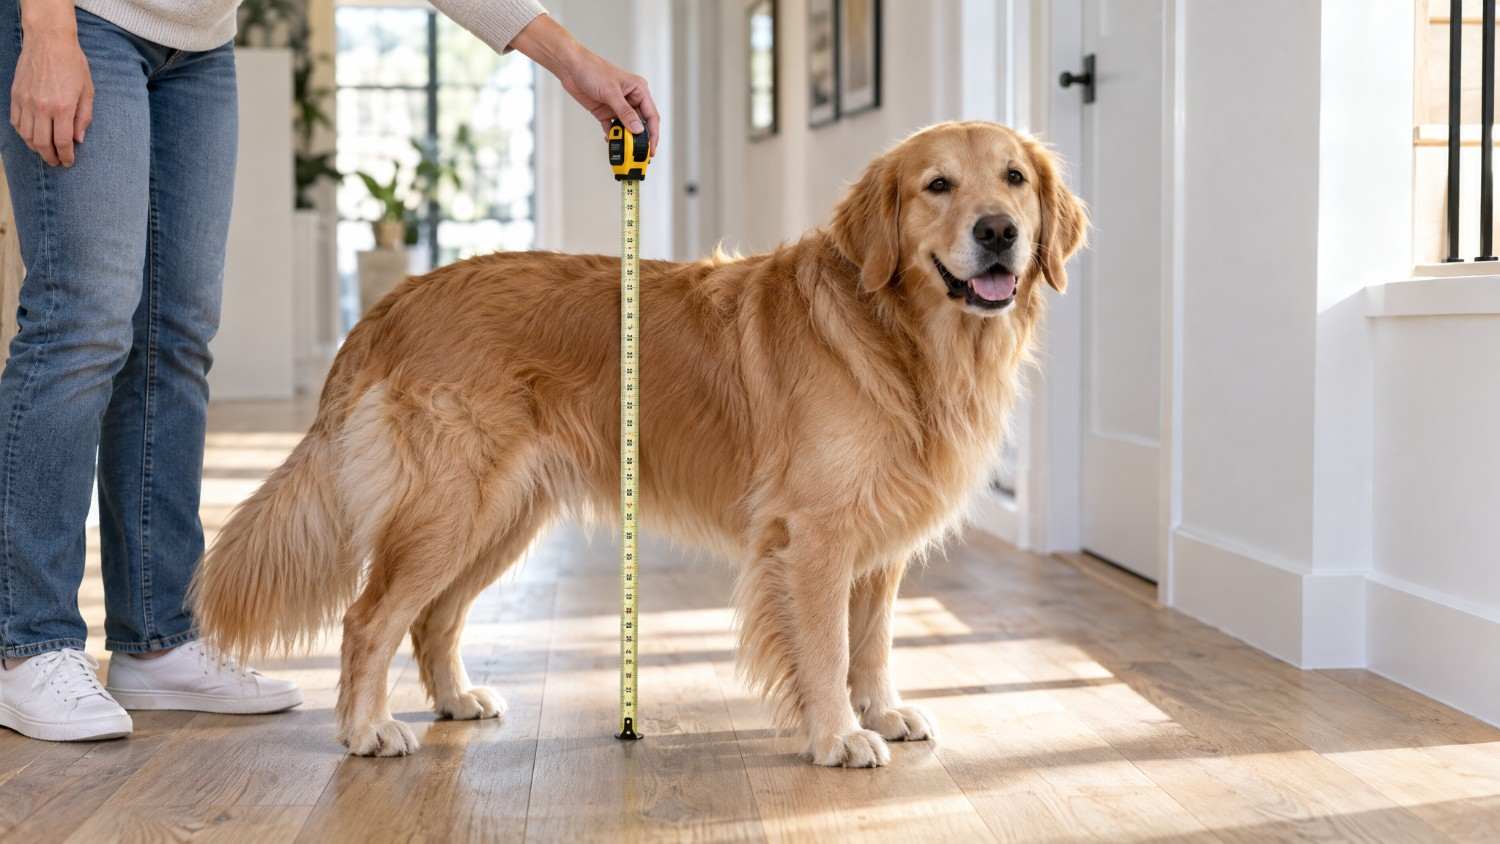
This is the step almost everyone skips, and it is the one that determines whether the gate actually works. Have your dog stand naturally on a level floor.
A. Shoulder height (withers height).
Measure from the floor to the top of the shoulder blades, not the top of the head. This is the standard way dog height is expressed.
B. Standing reach.
Encourage your dog to stand on their hind legs against a wall and mark the highest point their front paws reach. This is the number that predicts jumping and climbing, and for athletic breeds it is dramatically higher than shoulder height.
C. Chest height from the floor.
Measure from the floor to the lowest point of the chest/belly. Any gap under the gate smaller than this is one your dog cannot crawl through, though determined low-slung breeds will flatten themselves further than you expect.
D. Head width and head height.
The widest and tallest points of the skull. Side gaps and under-gaps must be small enough that a head cannot enter and become trapped.
E. Weight and temperament.
A 90 lb dog that leans on gates needs heavier hardware and solid backing than a 12 lb dog that respects boundaries.
| Dog size | Typical shoulder height | Suggested gate height (floor to top of glass) |
| Toy / small (under 20 lb) | 6″–12″ | 24″–30″ |
| Medium (20–50 lb) | 12″–20″ | 30″–36″ |
| Large (50–90 lb) | 20″–26″ | 36″–42″ |
| Giant or athletic jumper | 26″+ | 42″+ or full-height panel |
Working Rule: The top of the gate should be at least 1.5× your dog’s shoulder height, and for any dog with a history of jumping, at or above their standing reach. Breeds bred for agility and hunting; Border Collies, Australian Shepherds, Huskies, Vizslas, Belgian Malinois, many terriers, routinely clear barriers far taller than their shoulder height suggests.
| Dog Size | Maximum Under-Gate Gap |
| Toy / small | 1″ – 1.5″ |
| Medium | 1.5″ – 2″ |
| Large | 2″ – 3″ |
| Low-slung breeds (Dachshund, Corgi, Basset) | Treat one size down |
| Household includes cats | 1″ or less, and accept that cats may still pass |
Two constraints are in tension here. Too large a gap and your dog crawls under. Too small a gap and the panel drags on carpet or catches on an uneven floor. Aim for the largest gap that still blocks your dog, then verify it clears your floor at every point of the swing.
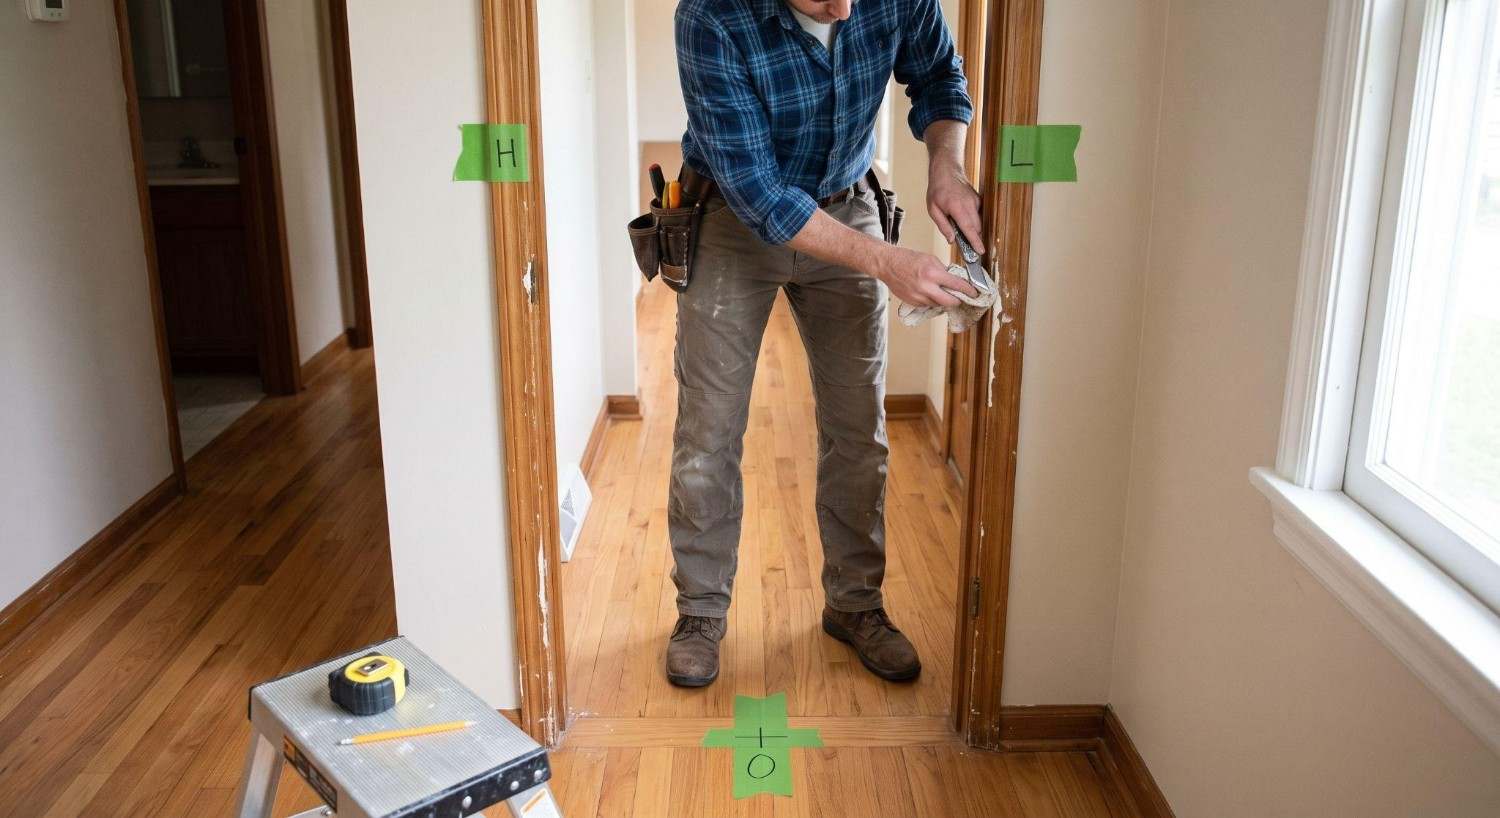
Walk to the opening and do this before measuring anything:
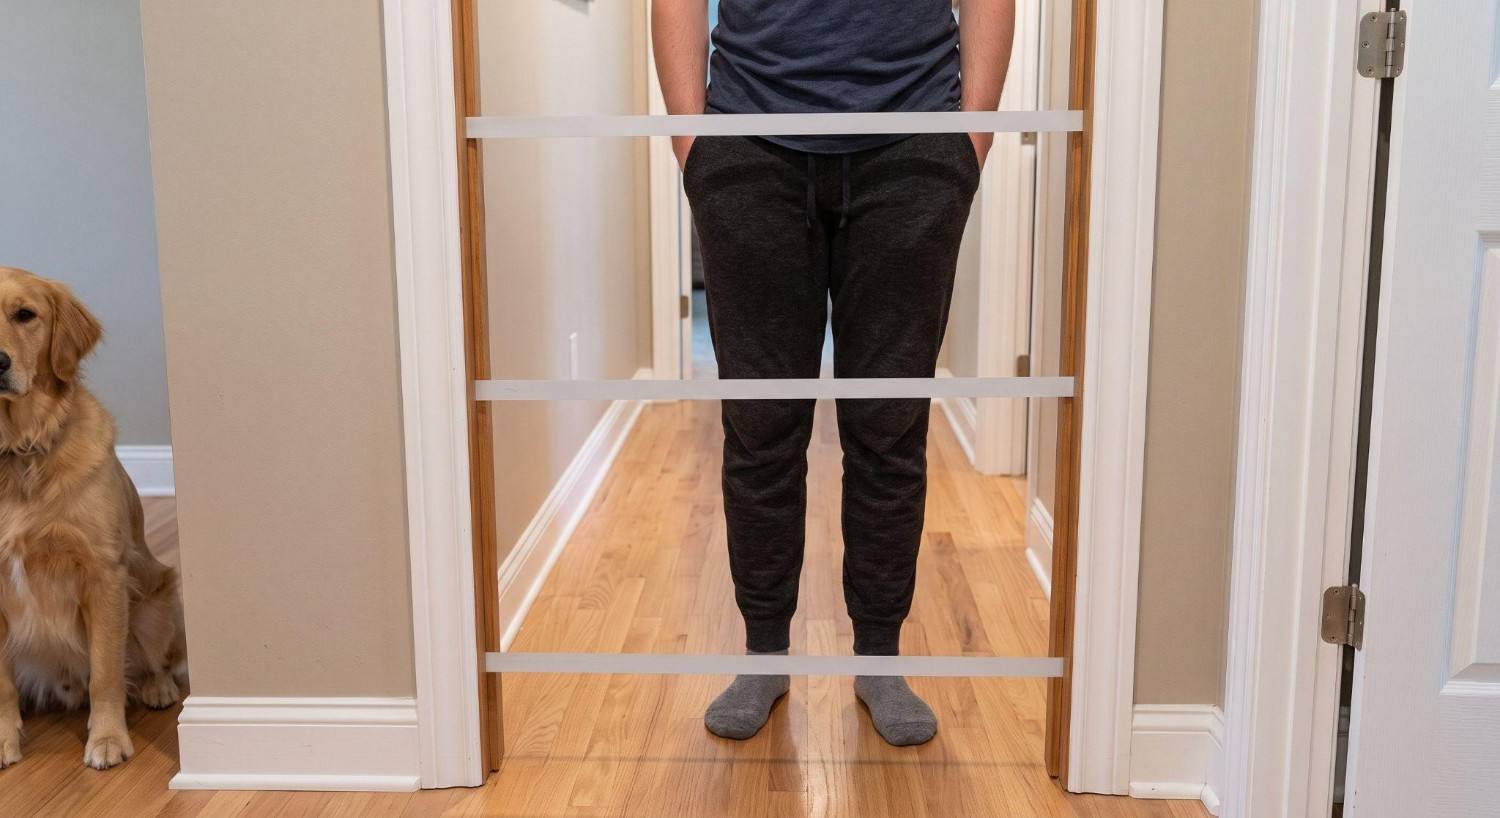
Take three width measurements, hooking the tape on the inside face of one jamb and reading against the inside face of the other. Keep the tape perfectly horizontal, a tape angled downward reads long.
| Measure at | Record as |
| Top: About 2″ below the head of the opening | W-Top |
| Middle: At your planned gate mid-height | W-Mid |
| Bottom: About 2″ above the finished floor, or just above the baseboard if the gate will sit above it | W-Bottom |
Record all three to the nearest 1/16″ (or 1 mm). Do not round to the nearest inch and do not average them.
Then apply the rule: use the smallest of the three as your Controlling Width.
A panel sized to the widest point will not fit. A panel sized to the narrowest point always fits, and the difference shows up as a slightly larger reveal elsewhere, visually harmless.
Important: If your gate will sit above the baseboard (the common approach), measure W-Bottom above the baseboard, wall-to-wall, not between the baseboards. If the gate will extend down past the baseboard, then the baseboard-to-baseboard dimension is your controlling width at the bottom, and you will need either a notched panel or standoff spacers.
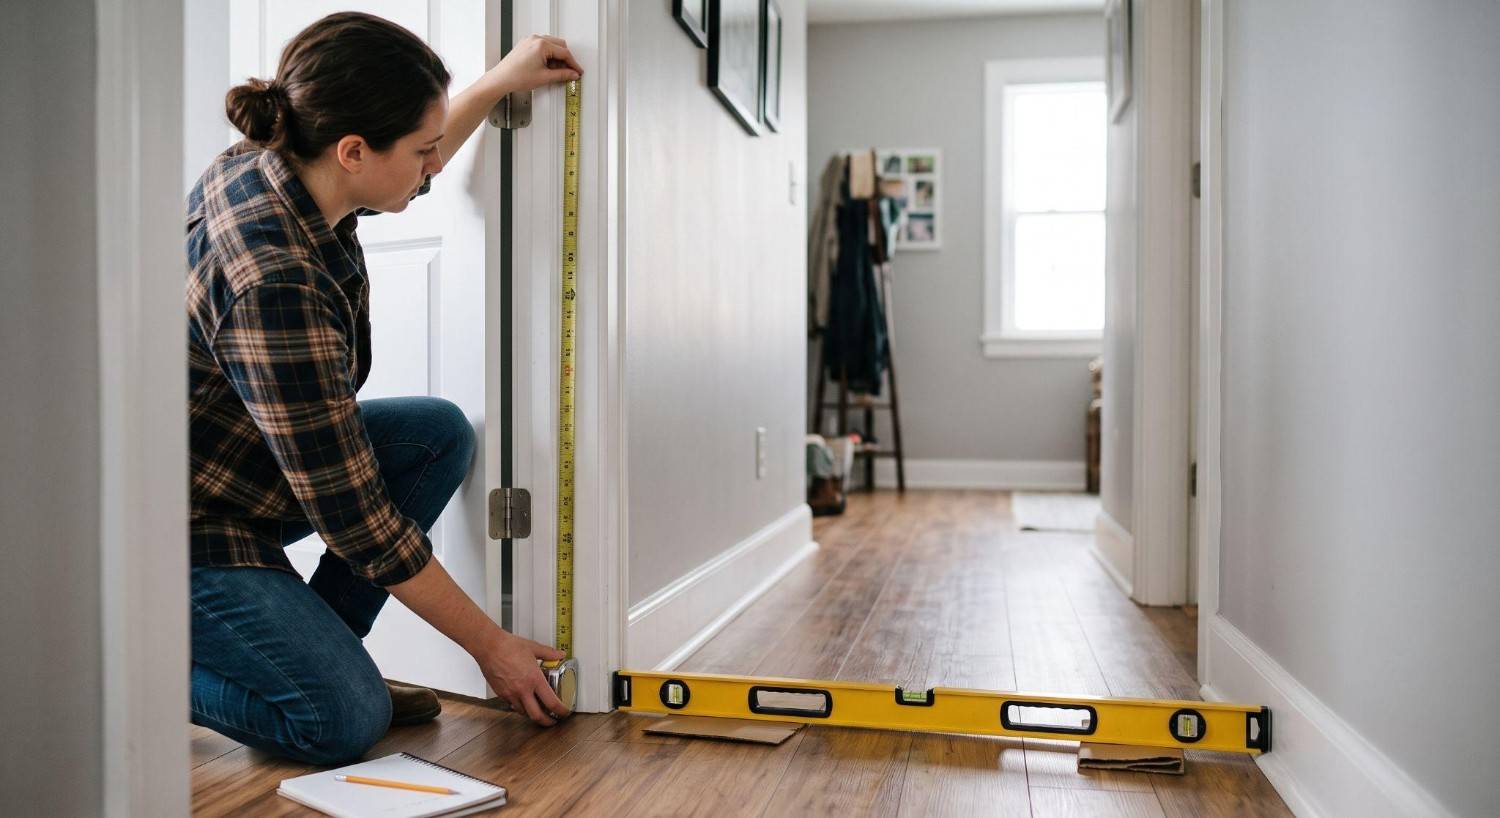
Even though most glass dog gates are shorter than the opening, you still need height data for hardware placement, for floor slope, and because glass height must be exact.
Take three height measurements from the finished floor straight up:
| Measure at | Record as |
| Hinge side: 2″ in from the hinge jamb | H-Hinge |
| Center | H-Center |
| Latch side: 2″ in from the latch jamb | H-Latch |
If your opening has a header, measure to the underside of it. If it is an open hallway with no header, measure from the floor to your planned gate top instead.
Then measure the floor itself. Lay your 4 ft level across the opening, floor to floor, and note whether it reads level. If it does not, shim one end until it does and measure the shim height. Record this as Floor Fall.
Floor fall matters more than people expect. A floor that drops 1/2″ across a 34″ opening means a gate hung plumb will have a 1″ gap at one end and a 1/2″ gap at the other or it will scrape. Always set your floor clearance from the HIGH point of the floor, then confirm the gap at the low point is still small enough to stop your dog.
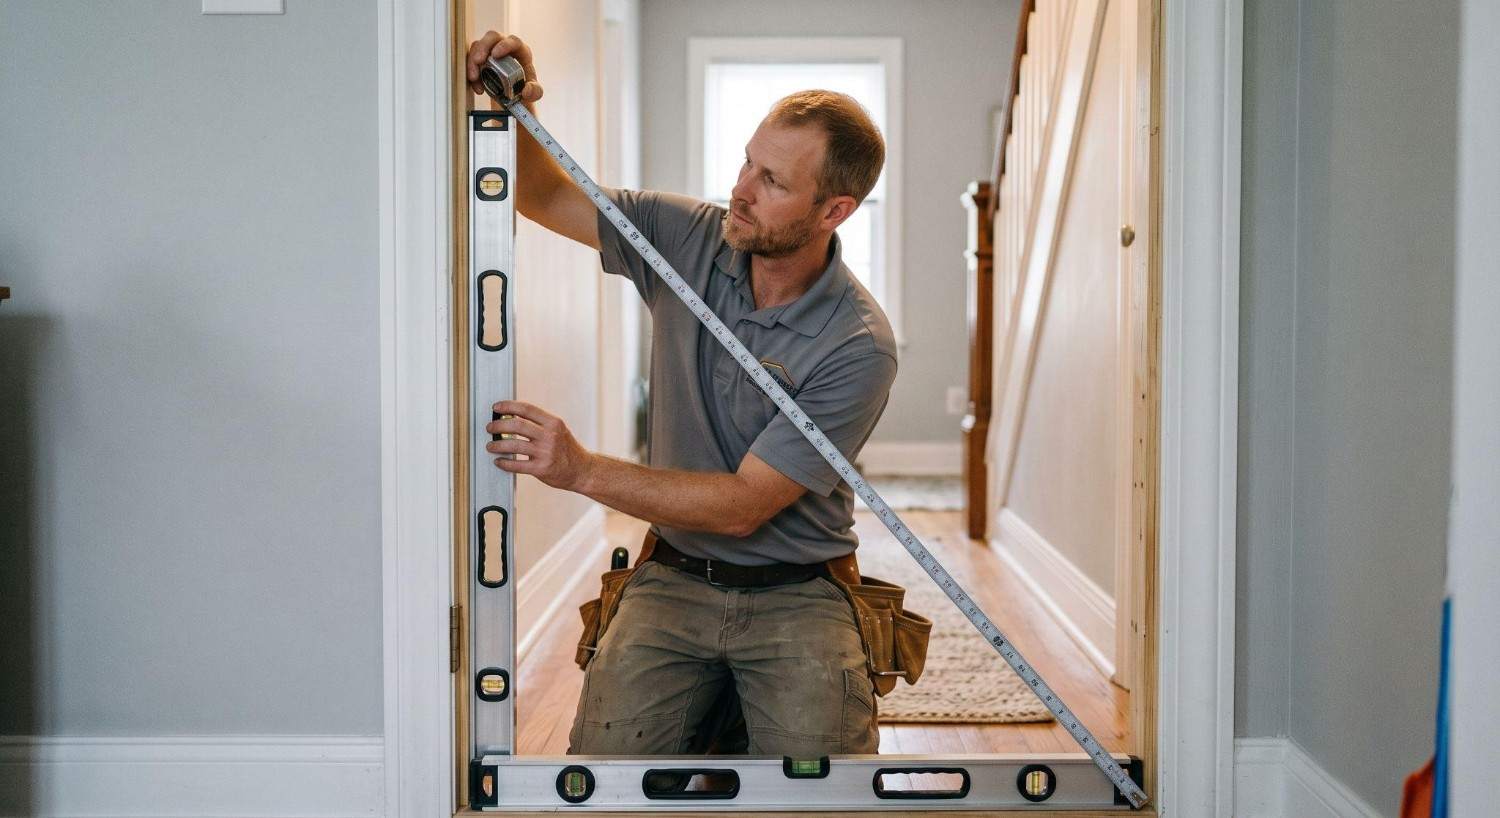
Three quick checks. Two minutes. They prevent the most expensive mistakes.
Hold your 4 ft level vertically against each jamb face. Note the direction and amount of lean. If a jamb leans more than 1/4″ over the height of your gate, the reveal will visibly taper, and a hinged gate may rub at one corner. In that case either increase the side gaps to absorb the lean, or ask about shimmed or adjustable wall brackets.
Hold the level against the underside of the header. Record any fall. Only relevant if your gate reaches the header.
Measure both diagonals of the opening, bottom-left corner to top-right, then bottom-right to top-left.
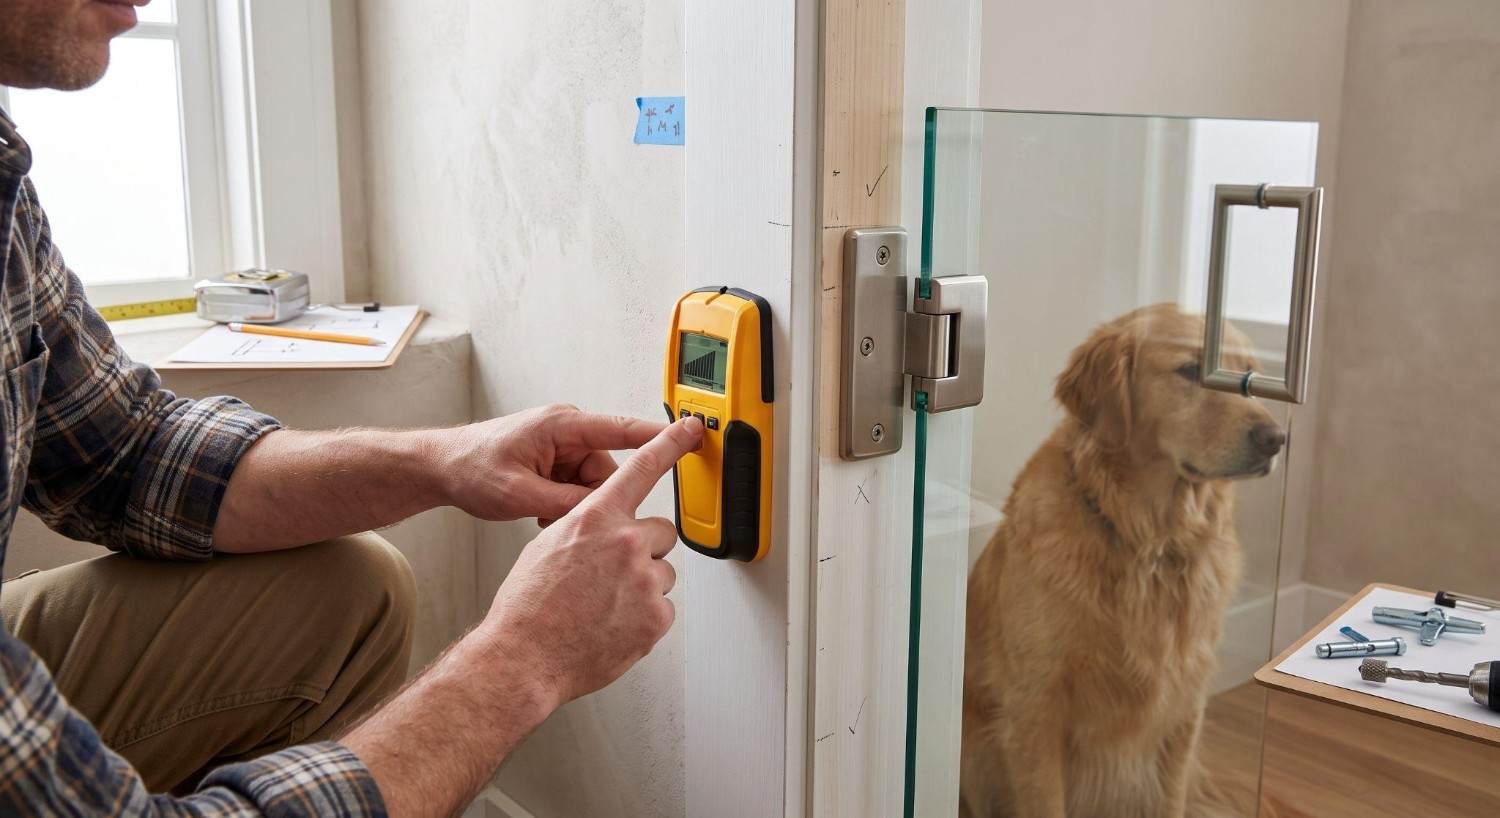
A glass gate is heavy and it experiences repeated impact loads from a dog pushing against it. The mounting substrate is a structural question, not a detail.
Use a stud finder on the hinge jamb and map what you find. Wall studs are typically spaced 16″ or 24″ in the center. Door jambs are almost always backed by solid framing (the trimmer/jack stud), which is ideal. Open hallway walls may not have framing exactly where your hinges need to land.
Record the wall type:
| Substrate | Notes for mounting |
| Drywall over wood framing | Ideal at a door jamb. Mid-wall locations may need blocking added between studs. |
| Drywall over steel studs | Needs toggle-type anchors rated for the load; steel studs flex more. |
| Plaster over wood lath | Brittle. Pre-drill carefully; anchor into the studs, never the lath. |
| Tile over cement board | Drilling requires a diamond bit and slow speed. Mark hole positions precisely, a mis-drilled tile is a repair job. |
| Solid brick, block, or concrete | Excellent strength. Requires masonry anchors and a hammer drill. |
| Newel post or stair post | Measure post width, depth, and shape; check whether the post is plumb and whether it is solidly anchored to the stair structure. A loose newel post will not hold a glass gate. |
Measure and record the distance from the opening edge to the nearest stud center on both sides. Your fabricator needs this to confirm hinge placement or to specify a mounting plate that spans to solid backing.
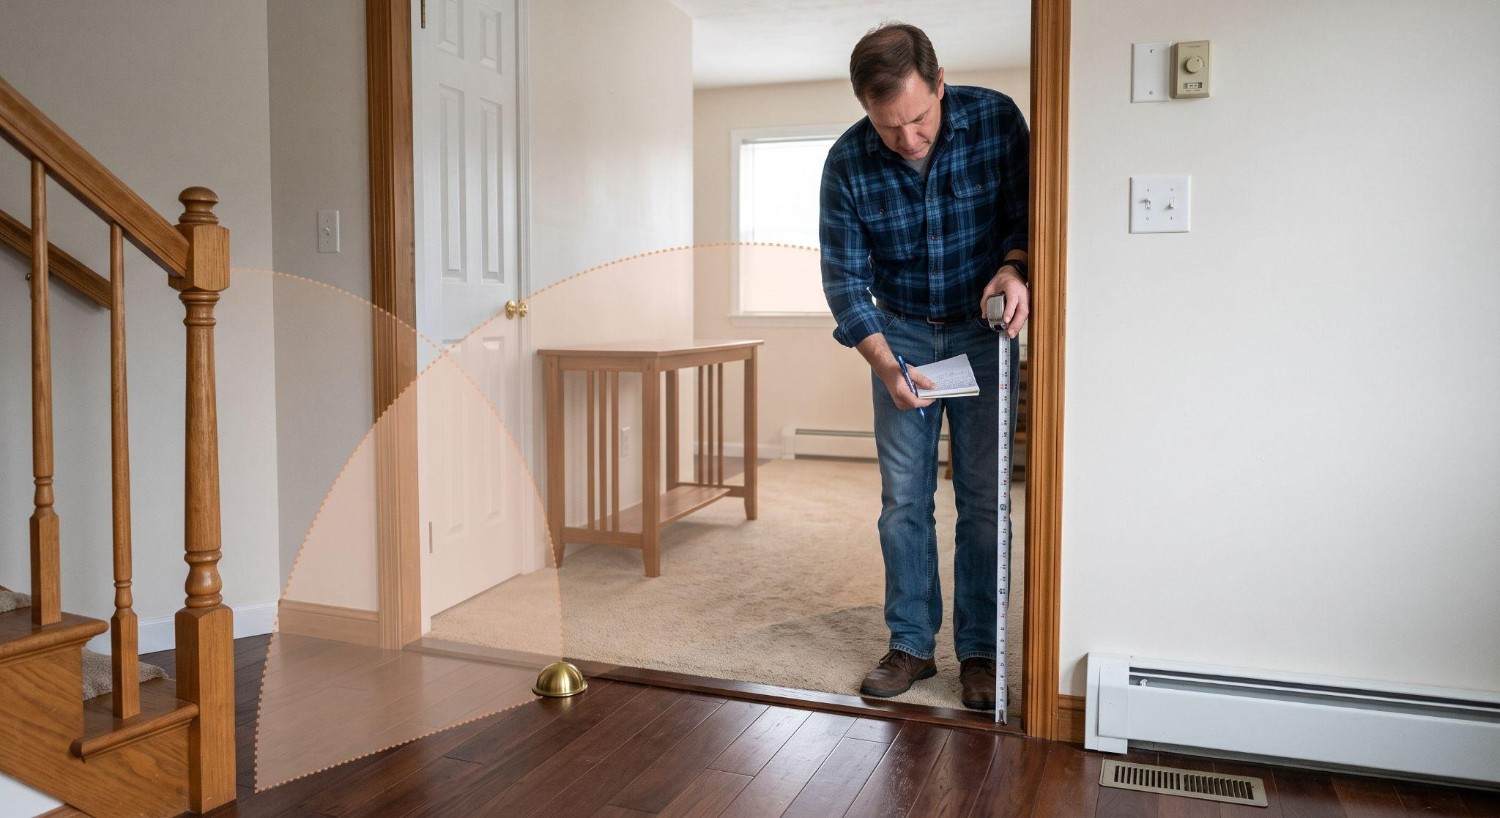
Stand in the opening and look at everything within an imaginary arc the width of your gate.
Your gate needs clear space equal to its glass width plus the handle projection (typically 1″–2″) plus a safety margin. If your gate is 32″ wide and swings into a hallway that is 34″ deep before hitting a wall, you have 2″ of margin, workable, but tight.
If the floor rises in the direction of swing, a transition strip, a thicker rug, a threshold, the gate’s bottom edge must clear it at every point of the arc, not just when closed.
Its height, its width, and how far it sits from each jamb. A 1/2″ tall transition strip in a doorway effectively reduces your usable floor clearance to 1/2″ less than you calculated.
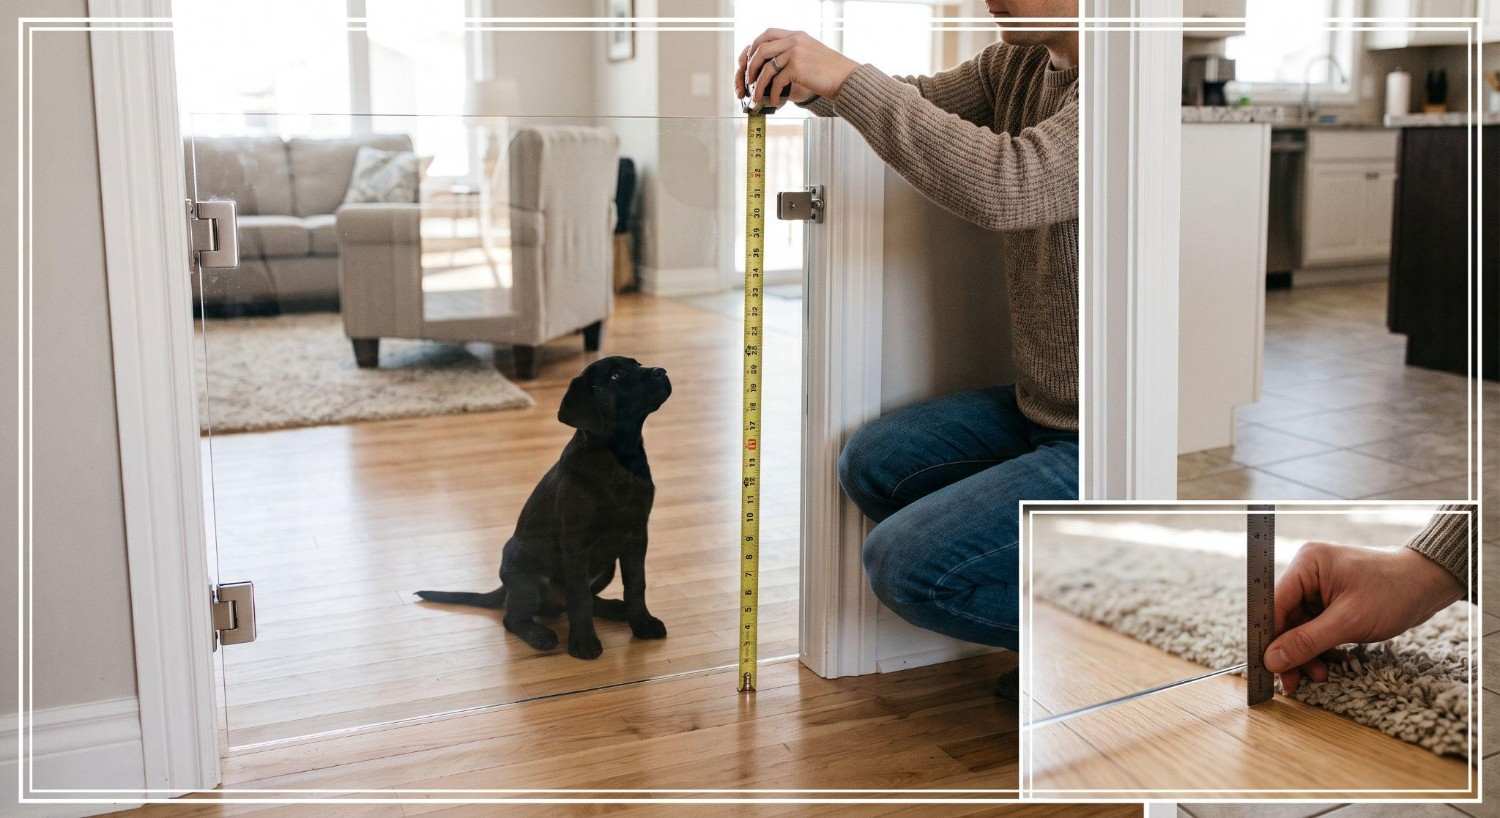
You now have everything needed to make these two decisions.
Use the table in Step 1. When in doubt, go taller. A gate that is too short is useless the first time your dog decides to test it; a gate that is slightly taller than necessary costs marginally more glass and nothing else. Also consider the humans: a gate above roughly 36″ becomes awkward to step over, so plan on always using the latch rather than stepping across.
Use the second table in Step 1, then verify against three things:
A common, safe starting point for most households on hard flooring is 1.5″ to 2″.
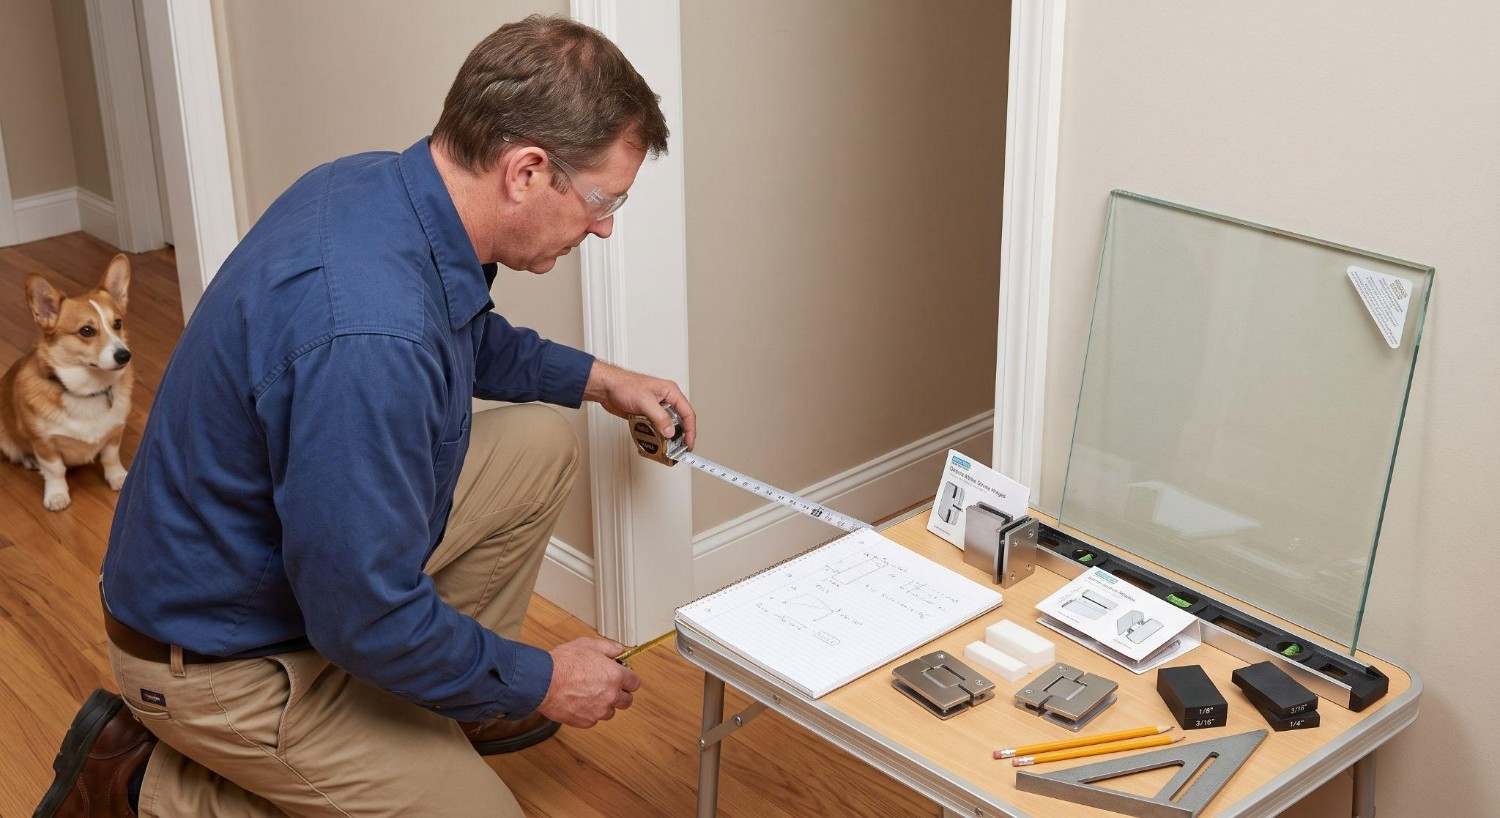
Here is the arithmetic. Two formulas.
Glass Width = Controlling Width − (Hinge-Side Gap + Latch-Side Gap)
Glass Height = Desired Gate Height − Floor Clearance
These are representative of hinged glass gates. Every hardware line is different, confirm the exact deduction with your supplier before ordering, because this number belongs to the hinge, not to the glass.
| Hardware type | Typical hinge-side gap | Typical latch-side gap |
| Clamp-style wall-mount hinges (no glass cutout) | 1/8″ – 1/4″ | 1/8″ – 3/16″ |
| Through-hole wall-mount hinges (glass drilled) | 1/8″ – 1/4″ | 1/8″ – 3/16″ |
| Glass-to-glass hinges (gate to fixed panel) | 3/16″ – 1/4″ | 1/8″ – 3/16″ |
| Pivot hinges (top and bottom) | 1/4″ – 3/8″ | 1/8″ – 1/4″ |
| Fixed panel in U-channel | Add 1/4″–3/8″ per side for channel engagement | N/A |
Note the last row carefully. A fixed panel that slides into a U-channel must be ordered larger than the opening so it engages inside the channel. A swinging panel must be ordered smaller. Mixing these up is a costly error.
Final Order: One Panel of Tempered Glass, 35 ⁷⁄₁₆” Wide × 32 ¼” High.
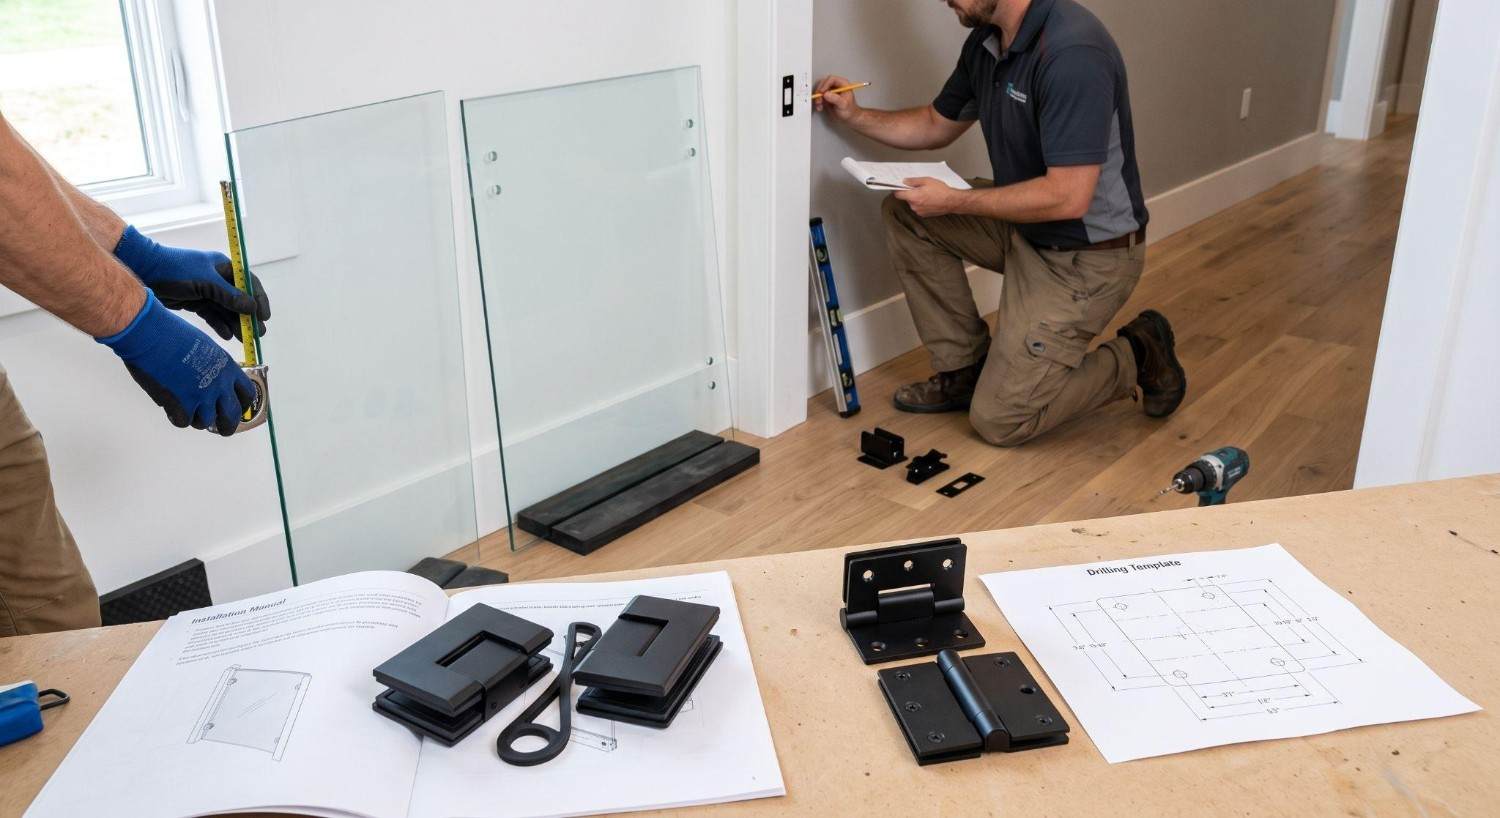
This is the step where the tempering rule bites hardest. There are two families of hinge hardware, and choosing between them changes your measuring burden entirely.
The hinge grips the glass edge between two gasketed jaws. Nothing is drilled. If your fabricator offers clamp hinges, choose them unless you have a reason not to. Your only measurements are the panel dimensions and the clamp positions on the wall, both of which are adjustable at install time. This is the low-risk path.
The hinge bolts through the panel. The holes must be drilled before tempering, which means their positions must be exact on the order form and can never be corrected.
If you are going this route, you need to specify:
Two rules govern hole placement in tempered glass:
Do not invent these numbers. Get the hardware manufacturer’s drilling template, and if possible, have your fabricator produce a shop drawing showing every hole dimensioned, and approve it in writing before fabrication starts. That signed drawing is your protection.
Measure and record:
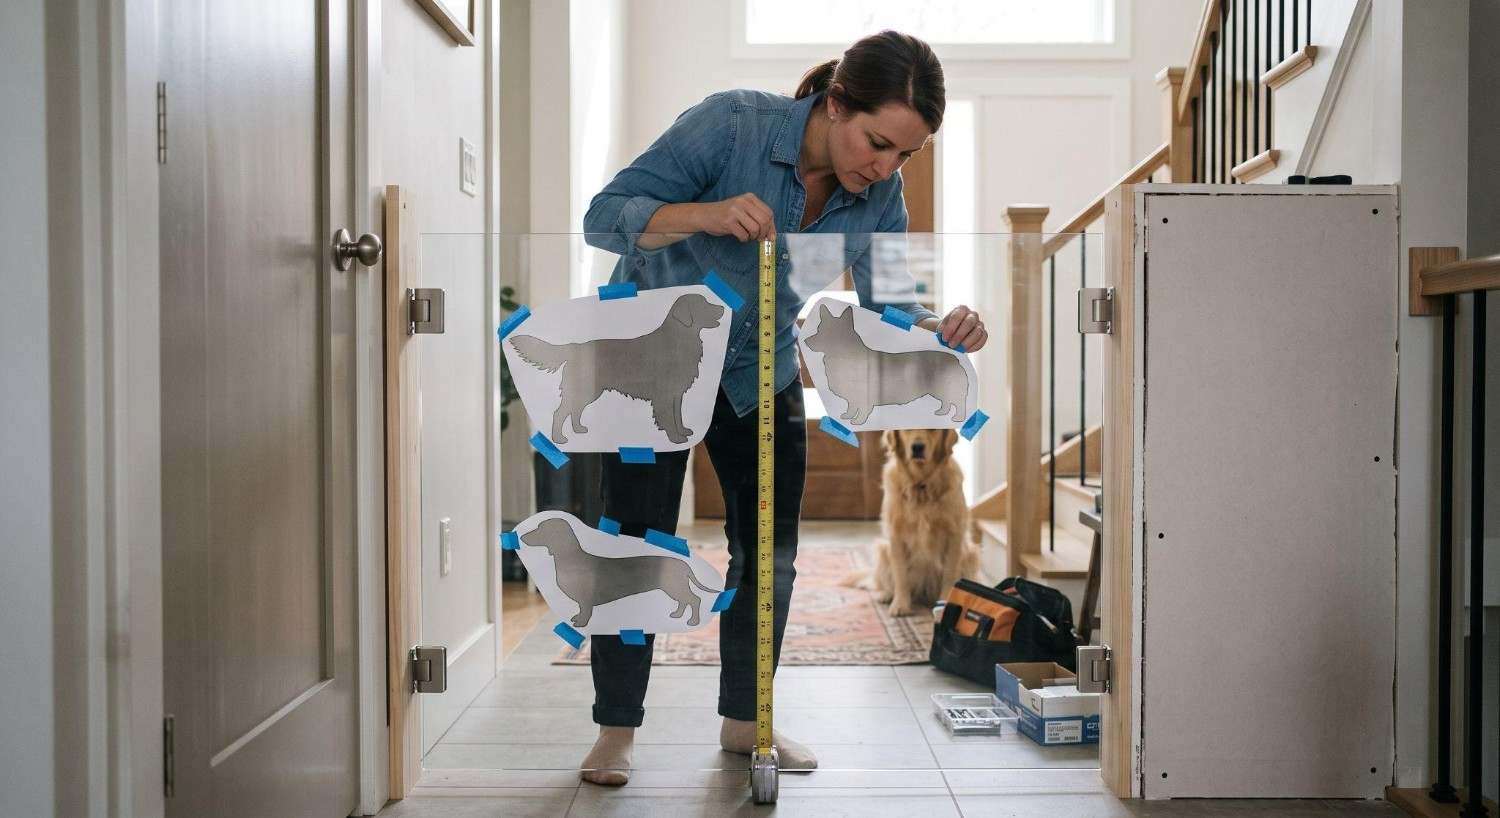
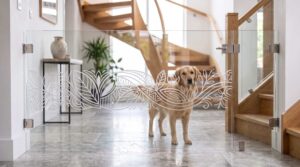
A custom-etched breed silhouette does two jobs: it personalizes the gate, and it serves as a visibility marker. Large areas of clear glass at shin-to-chest height are a genuine walk-into hazard, particularly in low light, and building codes in many jurisdictions require visual indicators on full-height glass for exactly this reason. Treat the etching as a safety feature that happens to be beautiful.
1. Sightline Height: Stand where you normally approach the gate. The natural eye-catch zone sits roughly 30″–45″ from the floor for standing adults. If your gate is shorter than that, center the design vertically instead.
2. Available Design Field: Take your final glass dimensions and subtract margins:
Use a minimum margin of 2″ on every edge. Increase it to 3″–4″ on any edge that carries hinges, clamps, or a handle, a silhouette that disappears behind a hinge plate looks like an accident.
3. Design Size: A breed silhouette typically reads best at 40%–60% of the design field width. Smaller and it looks lost on a large panel; larger and it crowds the edges.
4. Orientation and Viewing Side: Decide which room the design faces. Standard etching is applied to one face only, so the silhouette reads correctly from that side and slightly softened from the other. If both sides matter equally, a gate between two living spaces, ask whether double-sided or through-etching is available, and expect a price difference.
5. Multi-Panel Alignment: If you are ordering a gate plus fixed sidelights, decide whether the design is centered on the gate alone or composed across the whole assembly. If it spans panels, your fabricator needs the exact gap dimensions between panels so the artwork lines up.
For multi-dog households, a common approach is a single composition with each silhouette scaled to true relative size. If you want that, supply your fabricator with each dog’s shoulder height and body length so the proportions are accurate rather than generic.
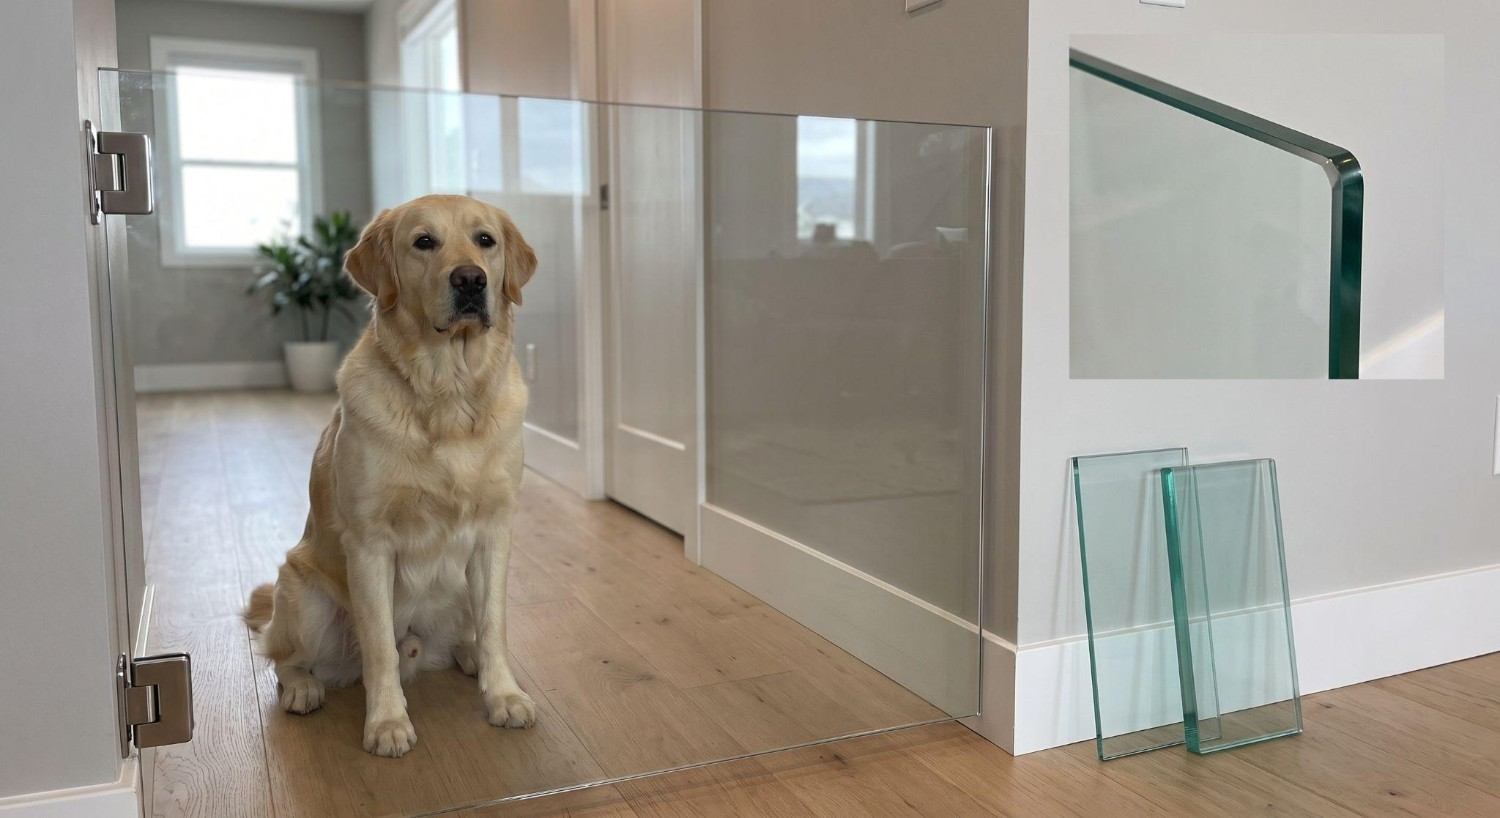
| Thickness | Common use | Character |
| 5/16″ (8 mm) | Small gates, light dogs | Lightest; lowest hardware load |
| 3/8″ (10 mm) | The standard for most dog gates | Best balance of rigidity, weight, and cost |
| 1/2″ (12 mm) | Wide panels, large or powerful dogs | Noticeably more rigid; heavier hardware required |
Thicker glass is not automatically better. It is heavier, which puts more load on your wall anchors and makes the gate swing with more momentum. Match thickness to panel size and dog strength.
Glass weighs approximately 13 lb per square foot per inch of thickness (2,500 kg/m³). Practical figures:
| Thickness | Weight per sq ft | Weight per m² |
| 5/16″ (8 mm) | ~4.1 lb | ~20 kg |
| 3/8″ (10 mm) | ~4.9 lb | ~25 kg |
| 1/2″ (12 mm) | ~6.5 lb | ~30 kg |
Worked Example: A 36″ × 34″ panel is 8.5 sq ft. In 3/8″ glass that is about 42 lb. In 1/2″ it is about 55 lb. Now imagine that weight swinging, plus a 70 lb dog leaning on it. That is the load your wall anchors carry, which is why Step 6 matters.
Calculate your panel’s weight and tell your fabricator. It determines the hinge rating they specify.
Neither changes your dimensions, but both should be on the order:
Also confirm the safety glazing mark. Genuine tempered glass carries a permanent etched stamp in one corner citing the standard it meets, ANSI Z97.1 or CPSC 16 CFR 1201 in the United States, EN 12150 in Europe, and equivalent marks elsewhere. Ask where the stamp will be placed so it does not land in a visually prominent spot. If a supplier cannot tell you which standard their glass is certified to, that is a meaningful warning sign.
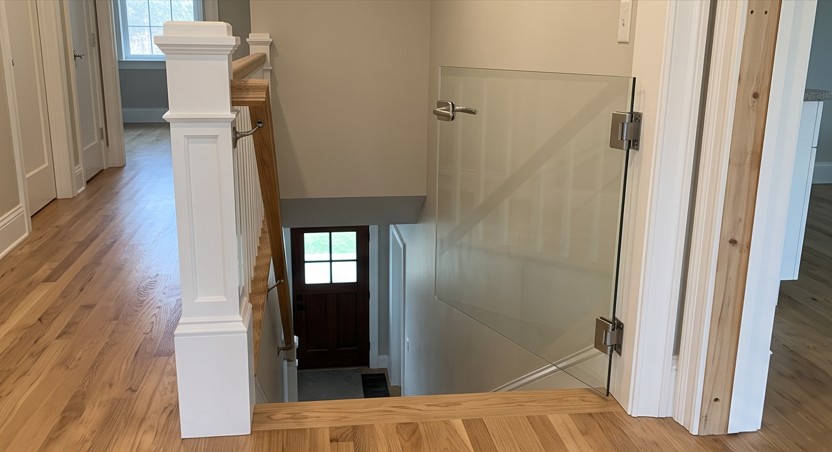
The highest-stakes location, and the one with the strictest rules.
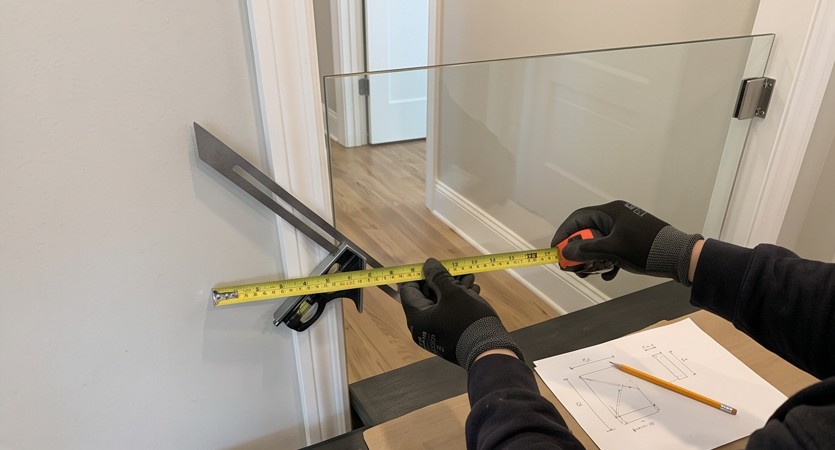
Usually mounted between a wall and the newel post. Measure the post’s width and depth, check whether it is plumb (many are not), and note whether it is square or turned. Turned or tapered posts need a specific bracket and a recorded diameter at the exact mounting height.
If the two jambs are not parallel:
Do not try to solve an angled opening with arithmetic alone. It is a case for professional review.
Measure the springline: The height at which the curve begins. A standard rectangular gate sits entirely below the springline, so measure your width at that point and below. If you want the glass to follow the arch, your fabricator needs a physical template: tape paper across the opening, trace the curve, cut it out, and ship or photograph the template flat with a ruler in frame for scale.
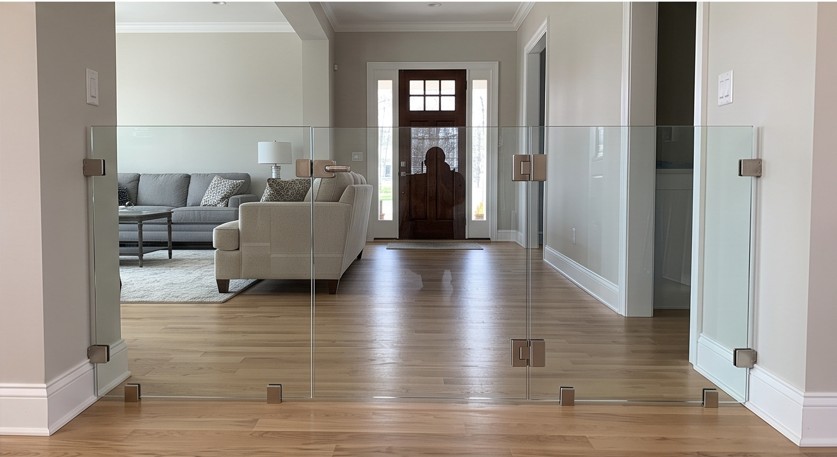
For spans beyond roughly 40″–48″, a single swinging panel becomes heavy and unwieldy. The usual solution is one swinging gate plus one or more fixed panels.
Gate Width = Controlling Width − Fixed Panel Width(s) − Gaps at every joint
Count your joints carefully. A gate plus one fixed panel has three gaps: wall-to-fixed, fixed-to-gate, and gate-to-wall. Each gap must stay small enough that your dog cannot squeeze through, which in practice means keeping them at or under 1/4″.
Three approaches, in order of preference:
Thick carpet and pad compress under the gate and spring back, which can bind a swinging panel. Add 1/2″ to 3/4″ to your floor clearance versus a hard-floor installation, and verify that the resulting gap is still under your dog’s safe maximum. If it is not, consider mounting the gate to open in the direction where the floor is lower, or trimming carpet in the swing path.
Your measurements: Work to 1/16″ (1.5 mm). Finer than that is false precision, walls are not that consistent. Coarser than that accumulates into a gate that binds or leaves a dog-sized gap.
Fabrication Tolerance: Most glass shops hold cut size to roughly ±1/16″ (±1.5 mm) on dimensions and a similar figure on hole centers. Ask your supplier for their stated tolerance in writing.
Why This Matters: If you order a panel exactly 1/8″ narrower than the opening and the shop delivers at the wide end of tolerance while your opening is at the narrow end of your measurement error, you may have effectively zero clearance. Build your gaps with this in mind, a 3/16″ gap per side is more forgiving than 1/8″ and looks essentially identical.
When In Doubt, Err Toward a Slightly Smaller Panel. A gap slightly larger than planned is a cosmetic issue you can live with or address with a wider hardware cover. A panel that is too big is scrap.
Download our glass dog gate measurement worksheet.
A complete package prevents the back-and-forth that delays orders and causes errors.
Read that drawing carefully against your worksheet before you sign it. Once tempering begins, the panel is final.
Everything above reduces to a short sequence: measure your dog, measure the opening three times in each direction, check plumb and square, choose your height and clearance, subtract the hardware gaps, and get the drawing approved before anything is tempered.
Take the worksheet to the opening, work slowly, and write every number down. The gate you end up with will be one you install once and never think about again, no warping, no peeling, no scratched-up mesh, just a clear panel with your dog’s silhouette on it doing its job for the life of the house.
Measure the finished opening’s width at the top, middle, and bottom and use the smallest figure. Measure the height at the hinge side, center, and latch side. Check that the opening is plumb and square by comparing diagonals. Then subtract your hardware’s hinge-side and latch-side gaps from the smallest width to get the glass width, and subtract your chosen floor clearance from your desired gate height to get the glass height.
No. A swinging glass gate must always be smaller than the opening so it can move and so the hinges have room. The only exception is a fixed panel installed in a U-channel, which must be ordered slightly larger so its edges engage inside the channel.
Because almost no opening is perfectly parallel. Framing settles, drywall builds up unevenly in corners, and plaster is rarely flat. Three measurements reveal the true narrowest point, which is the only dimension a panel has to fit through.
Use the smallest. A difference under 1/8″ is normal and needs no action. Between 1/8″ and 3/8″, widen your side gaps slightly. Over 3/8″, send your measurements and photos to your fabricator before ordering.
At minimum, 1.5× your dog’s shoulder height. For any dog that jumps or climbs, at or above their standing reach on hind legs. Practically, 24″–30″ suits small dogs, 30″–36″ suits medium dogs, and 36″–42″ or taller suits large and athletic breeds.
Enough to swing freely, but less than your dog’s chest height. Typically, 1″-1.5″ for small dogs, 1.5″–2″ for medium, and 2″–3″ for large dogs. Always measure the clearance from the highest point of the floor, and go smaller if you have low-slung breeds or a cat.
No. Tempered glass cannot be cut, drilled, notched, or ground after tempering; any attempt causes it to shatter into small granules. Every dimension, hole, and cutout must be correct before fabrication. This is why measuring carefully matters far more with glass than with wood or metal gates.
3/8″ (10 mm) is the standard choice for most dog gates and balances rigidity against weight. 5/16″ (8 mm) suits smaller gates and lighter dogs. 1/2″ (12 mm) is worth considering for wide panels or large, powerful dogs, but it is noticeably heavier and demands stronger hardware and anchoring.
Roughly 4.9 lb per square foot at 3/8″ thickness and 6.5 lb per square foot at 1/2″. A 36″ × 34″ panel in 3/8″ glass weighs about 42 lb. Calculate your own panel’s weight and give the figure to your fabricator so they can specify hinges rated for it.
Only if you choose through-hole hinges. Clamp-style hinges grip the glass edge and require no holes at all, which removes an entire category of risk from the order. If you do use through-hole hardware, the hole positions must come from the manufacturer’s template and be confirmed on an approved shop drawing before tempering.
It can be, provided three conditions are met: the gate swings away from the stairs rather than over them, it is anchored into structural framing or a securely fastened newel post rather than hollow drywall, and the under-gate gap is small enough that your dog cannot slip beneath it. Confirm all three before ordering.
Tempered glass has a hardness well above that of a dog’s claws, so ordinary pawing does not scratch it the way it scuffs wood, powder-coated metal, or mesh. That surface hardness is also why the panel does not develop the clouded, worn look that plastic and painted gates acquire. There is no coating or laminate to wear through, so the finish you install is the finish you keep.
Center it in the visual field, generally 30″–45″ from the floor if the gate is tall enough, with a minimum 2″ margin from every edge and 3″–4″ from any hinge, clamp, or handle. Size it at roughly 40%–60% of the available design width. Beyond personalization, the etching acts as a visibility marker so people do not walk into the clear panel.
Compare the two diagonals. Within 1/8″ is square. Between 1/8″ and 3/8″ is mildly racked and can be absorbed by widening the reveals. Beyond 3/8″, the opening needs professional review, a rectangular panel in a racked opening leaves a tapering gap that may be wide enough for a small dog at one end.
Up to roughly 40″–48″, yes. Beyond that, a single panel becomes heavy and awkward to swing, and the usual solution is one swinging gate plus one or more fixed panels. When you split the opening, account for a gap at every joint and keep each one at 1/4″ or under.
Custom tempered glass is made to your specific dimensions and generally cannot be returned, resized, or resold. This is why the process here insists on three measurements per dimension, a written worksheet, photographs, and an approved shop drawing before fabrication. If you are uncertain at any point, particularly with out-of-square openings, angled walls, or a stairway installation, a professional site measure costs far less than a second panel.

Explore all things glass—from stylish table tops and insulated options to tinted and frosted designs. Discover guides on glass railings, custom cut glass, shelves, and stunning backsplash ideas for a modern home or office upgrade.